It’s that time of year again: time to plan Reid’s (my nephew) birthday cake! For his first birthday, we made a bear cake that was rainbow colored when you cut into it. On his second birthday, we put mini construction trucks on the cake. Given his obsession with curious George, we did a monkey for his 3rd birthday.
This year, the theme is easy: fire! because the party will be at the fire truck museum. We might do the Betty Crocker fire truck cake, but given its small size, we will need cupcakes to go along with it. The perfect excuse to make cupcakes in cones!
I have a distinct memory of a mom bringing cupcakes in cones for a classmate’s birthday in second grade. Sadly, I have no idea who the friend was, but I even remember that we ate them outside the classroom (near the flag pole lawn, for you SJSers reading this). I haven’t had them since, but I thought they would be perfect for the birthday party. We can dye the cake batter red and then use orange icing.
Next step: how to make them. After doing some research, I discovered there are two main methods. You can make cupcakes in a cupcake pan like you normally would except you invert a cone on top of the cupcake before baking them. Or, you can fill the cones with batter and bake them directly in the cone.
I obviously needed to try both methods, and that it was I am going to show you here. Ultimately, my preferred method is to make them directly in the cone. It requires some extra work, but I think worth it.
Method 1:Bake cupcakes directly in cone.
The first thing you need is a 9×13 (or larger) aluminum pan and a knife. Invert the pan onto a cookie sheet and cut holes in the pan that will fit the cones.
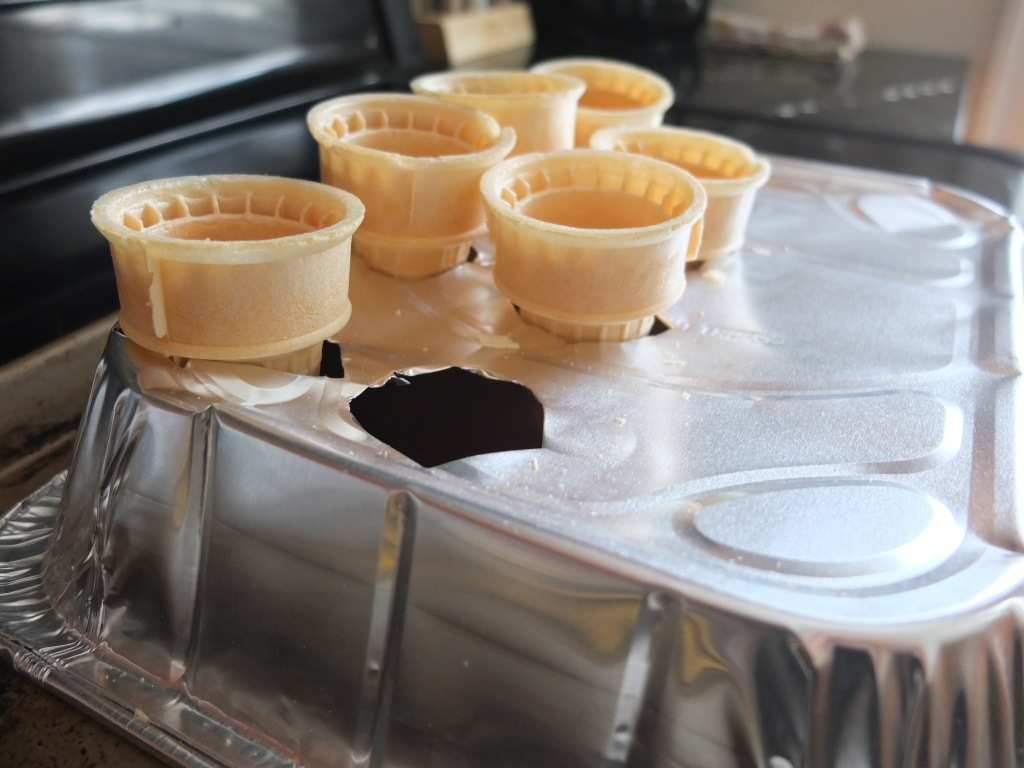
This project was the most arts and crafts thing I’ve done in a long time. So trust me, if I can do it, you can too. You want to try to keep the holes far enough apart that the cupcakes won’t bake together.
Here is an image from below:
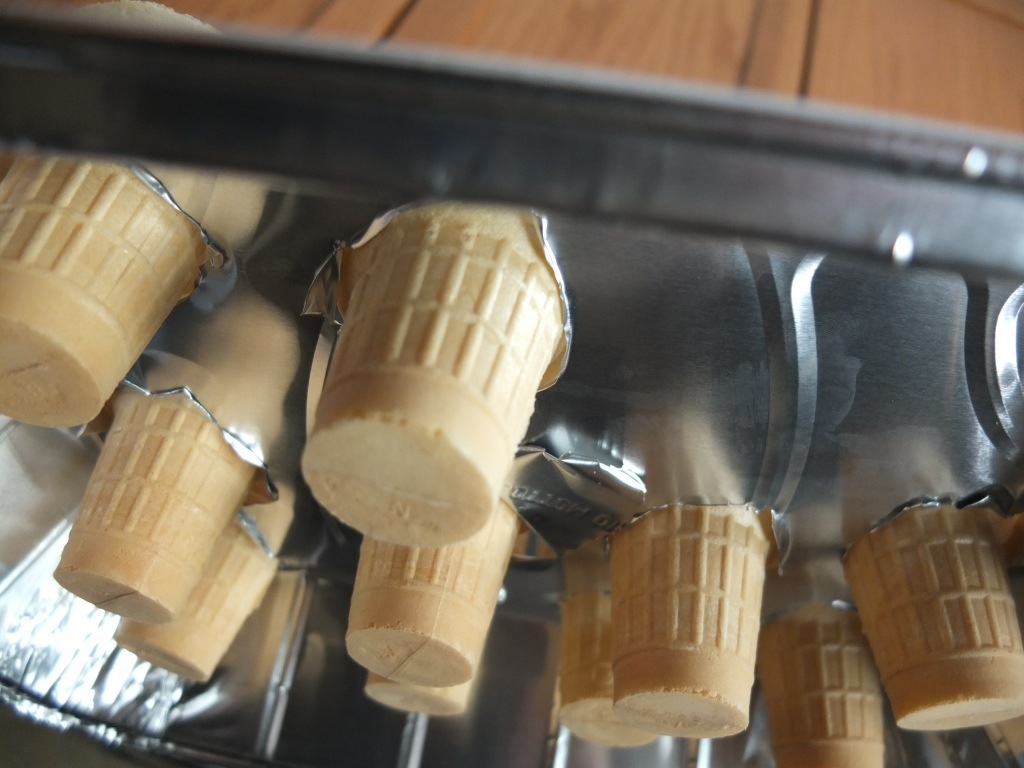
Next:
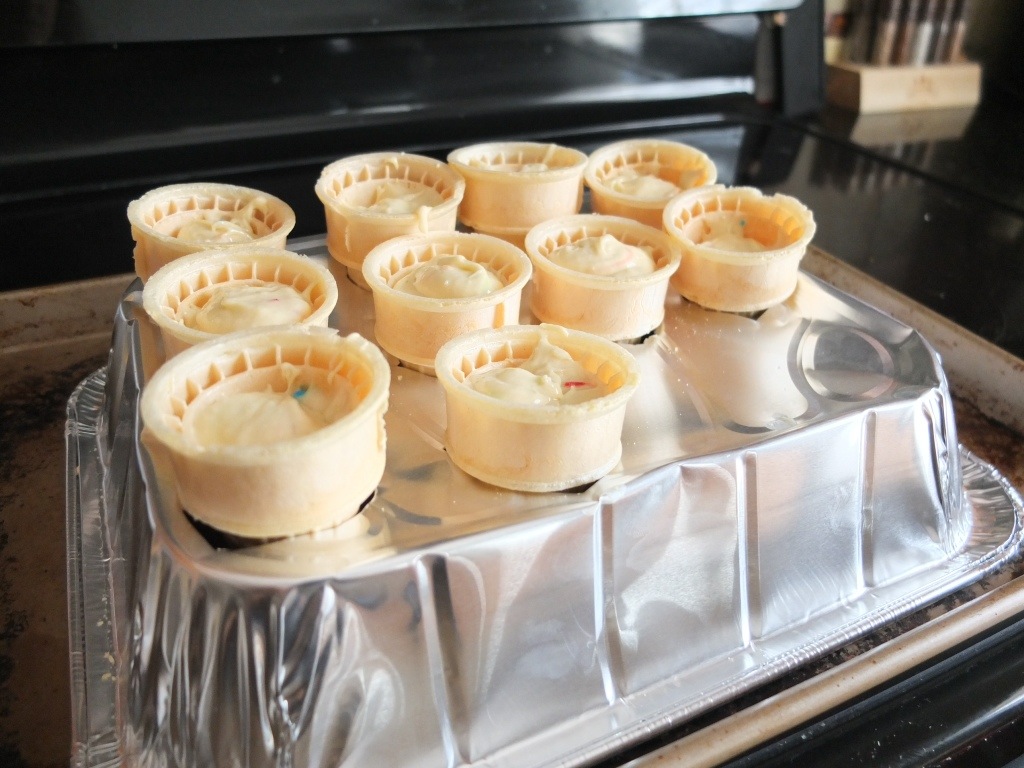
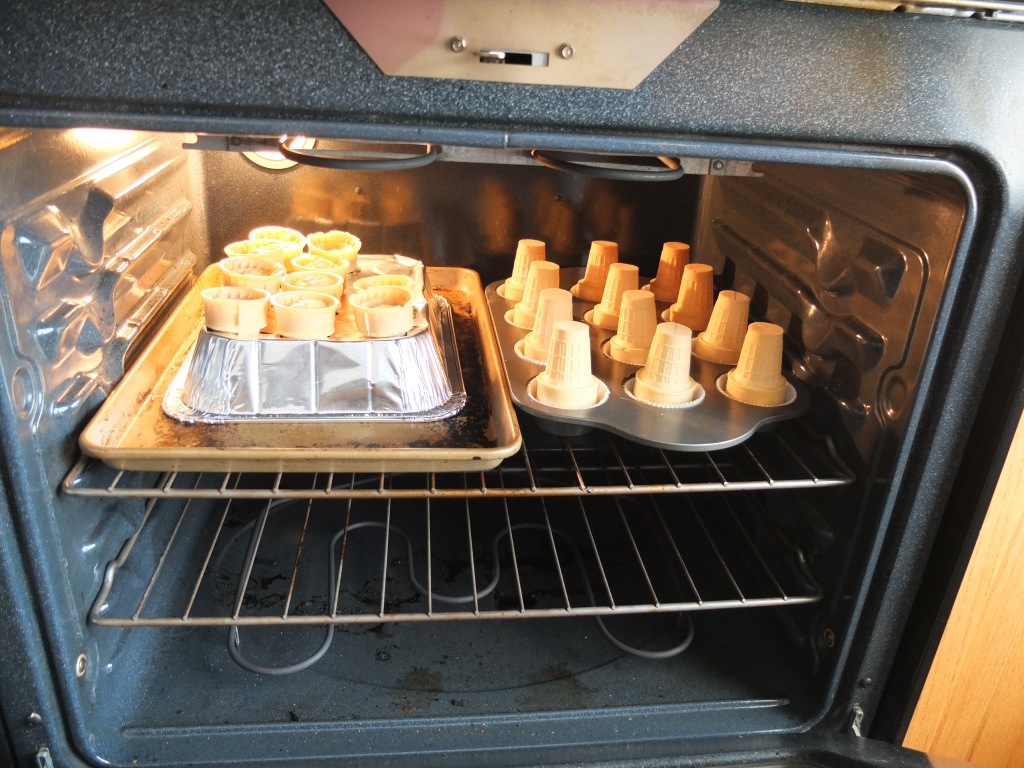
Add the batter to the cupcakes and bake in the oven for the same time you would a cupcake:
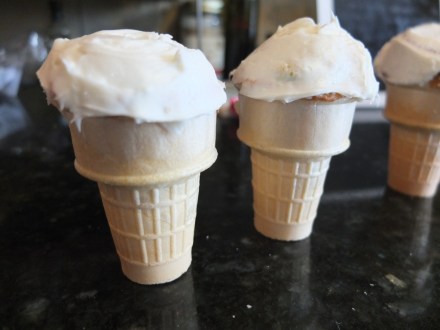
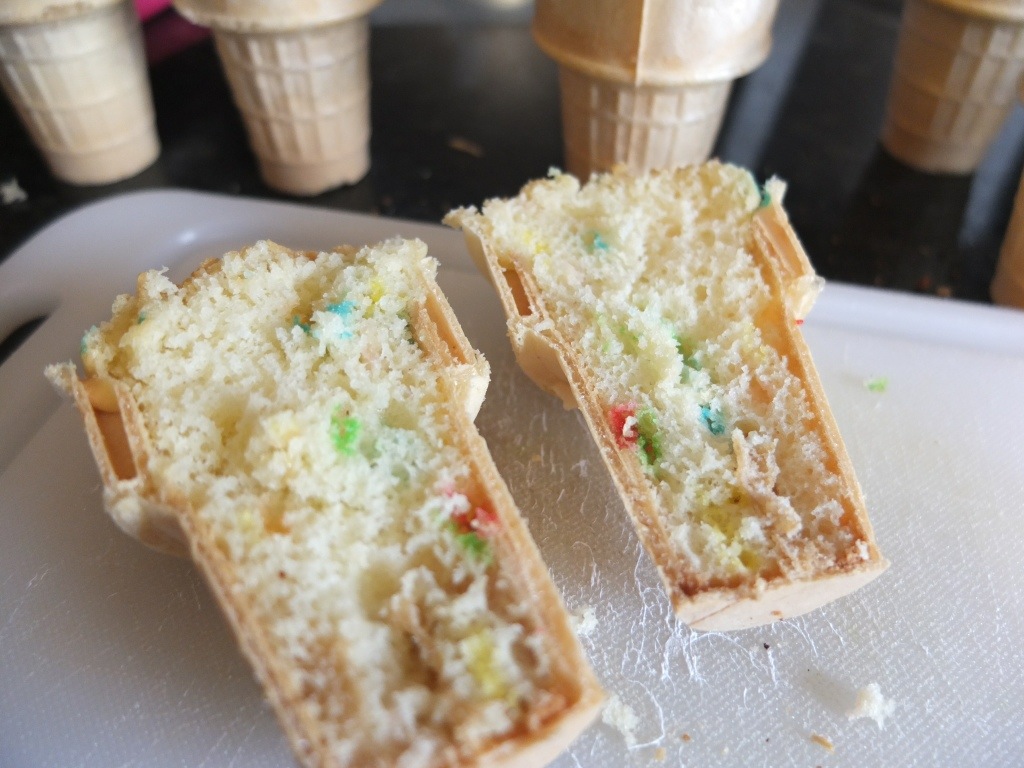
When they are done, remove from pan, and all you have left to do is ice them! I think they look prettier than the other ones, and as you can see, it fills up the cone more which makes them sturdier.

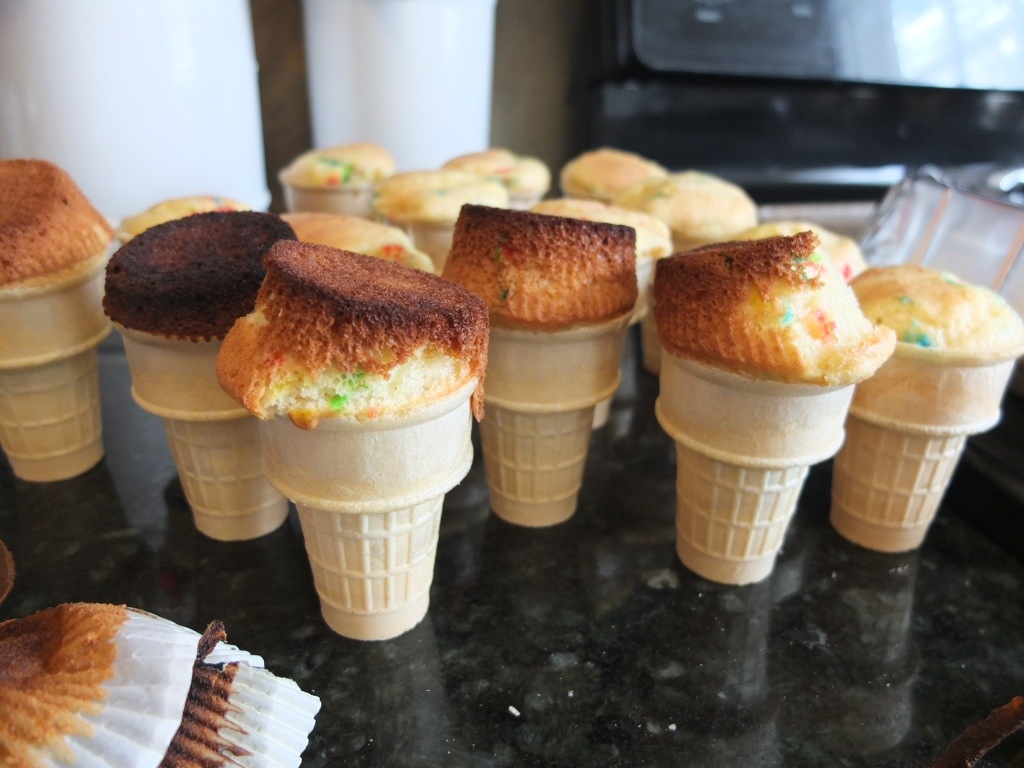
Method 2: Invert cone on cupcake before baking
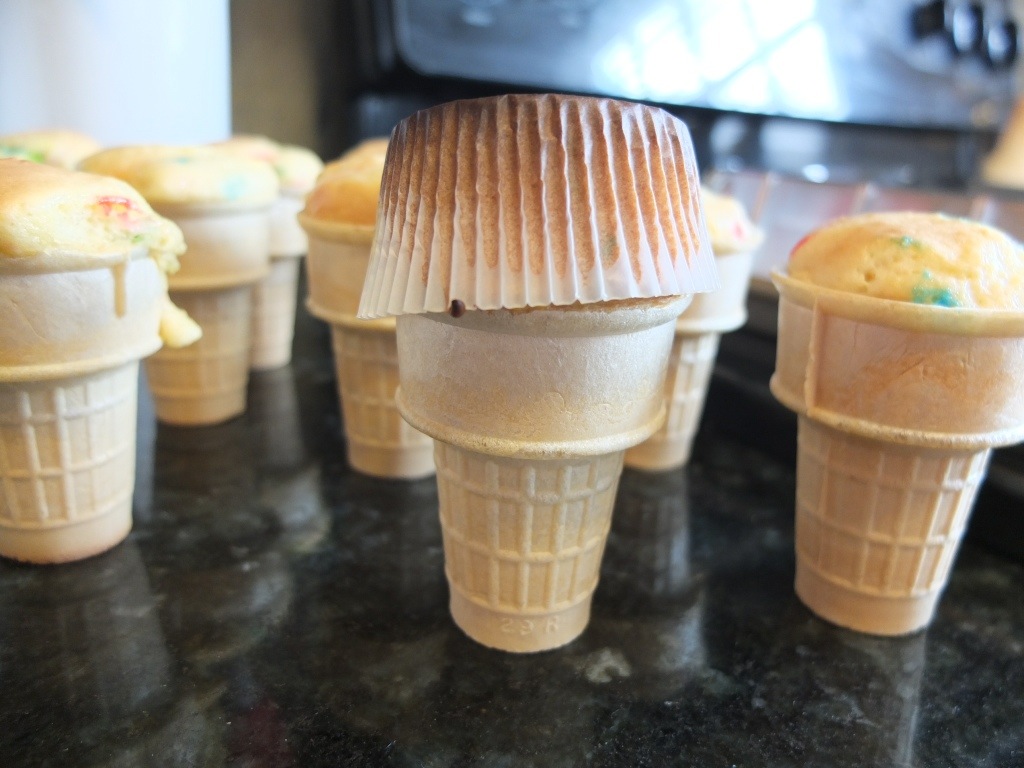
This method is certainly quicker (by about 10 minutes) and doesn’t require the aluminum pan, but as you can see they burned a bit because you can’t check when they are done, and they came out a little moe lopsided.
1st step:
Pour batter into a cupcake paper lined pan. Invert cone on top.
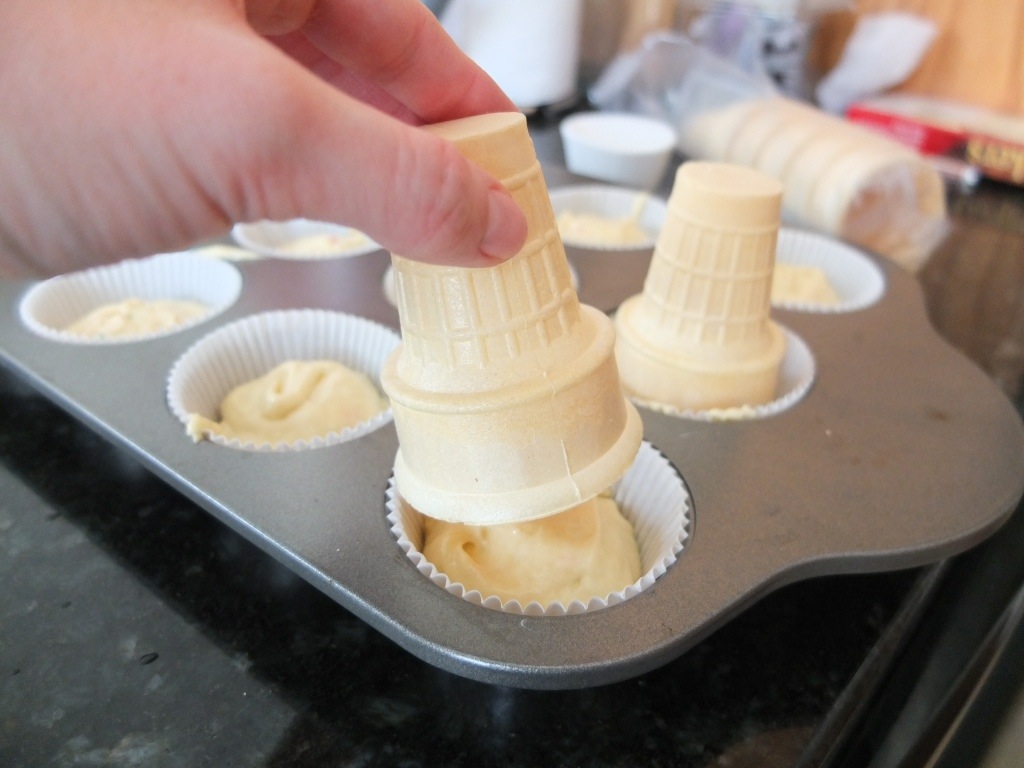
Put into the oven and bake as directed (this part is tricky because you can’t check for doneness):
When the time says they are done, remove and take off the paper:
As shown below (and mentioned previously), they do not fill up the cone as much, so are not as stable.

Either way, they look cute! I can’t want to make them like little fires for the birthday party!

Would these work with sugar cones as well?
Certainly! You might need cone holders to serve them though?