Whole Wheat English Muffins

English muffins are such a great thing to have on hand. Add a little butter and toast them up for breakfast or as a side at dinner. Hungry for a big breakfast? Add a poached egg and avocado and you are set. In a bind for dinner? Add some marinara sauce and mozzarella on top and you have pizza!

For the reasons above, I often grab some English muffins at the store, and if I don’t eat them all that week I put the rest in the freezer for a future need. I’m not sure why I originally decided to make homemade English muffins, but I’m so glad I did. Not only are they really easy: 15 minute max prep time (before rising and baking), but I think they are way better than the store bought kind.

The past week, I was consistently scrambling around for breakfast each morning – I hadn’t done a good job thinking ahead when I was at the grocery store the previous weekend. So, when I decided to actually think about what to make for breakfast this week, I knew I wanted these.

Try them out! You won’t be disappointed.

I follow this recipe from the New York Times exactly, so I’ll just pass along the link.

Chocolate Chip Spice Cake

I made a wedding cake!! Again!

My first cake was a couple of years ago right before I moved to New York. I had already moved out of my house in Nashville, so I baked the cakes at my friend Lauren’s apartment. I made three cakes: a chocolate cake with raspberry filing; a lemon infused white cake with strawberries, a white chocolate filing, and a cream cheese icing; and a chocolate chip spice cake with cream cheese icing, recipe courtesy of my friend Erin’s mom. The chocolate cake was pretty good but a lot of work, the white cake was delicious, and the spice cake was amazing.

When my grad school adviser and friend, Paige, asked me if I wanted to make her cakes, I knew immediately that I did. Once I figured out the logistics of making cakes for a wedding in Nashville when I live in NYC, I said yes! This time, I was a little bit smarter about things. One of the cakes I had made for the previous wedding was tiered. That was out. It was stressful and, to be honest, I still have nightmares about how it was slightly leaning. Second of all, I knew I needed to find a new chocolate cake. The previous one required a raspberry and chocolate ganache filling as well as a white icing. I turned to smitten kitchen for that (chocolate cake and swiss buttercream icing)

I knew that the sustains were the white cake with strawberries (which I previously blogged about here) and the spice cake. This cake is easy, relatively healthy (applesauce!), and awesome. I don’t know how I had not blogged about it before, but here it is! Enjoy!

Next time I make a wedding cake, maybe it will actually be in my own kitchen! Many thanks to Alison for letting me use her kitchen and putting up with me as I literally walked into her house after not seeing her for months and started baking immediately.

All credit for how beautiful the cakes look go to Paige for picking out awesome cake stands and for her friend Rebecca for doing the flowers. I just delivered white cakes.

Chocolate Chip Spice Cake
Courtesy of Laura Frankrone

2 1/2 cup flour
1 1/2 cup sugar
2 tsps. baking soda
2 tsps. cinnamon
1 tsp. cardamom (optional, I skipped)
1 tsp. salt
1/2 tsp. cloves (optional, I skipped)
1/2 tsp. black pepper
2 cups applesauce
2 large eggs, lightly beaten
1/2 cup oil
1 stick unsalted butter, melted
1 bag, semi-sweet chocolate chips (I use the mini-morsels)

1. Preheat oven to 350 degrees
2. Butter and flour a bundt pan or 2 9-inch pans.
3. Whisk the flour with the sugar, soda, cinnamon, cardamom, salt, cloves, and pepper. Stir in the applesauce, eggs, oil and butter. Fold in the chocolate chips.
4. Put batter in the pan. Bake for 1 hour and 15 minutes or until toothpick comes out clean for the bundt cake or 30-40 minutes if you use 9-inch cakes.
5. Transfer pan to cooling rack for 10 minutes; remove cake. (sometimes it takes a little long than 10 minutes but I start trying to get it out after 10 to prevent the cake from drying out.)
6. Cool cake completely and dust with confectioners sugar.

photo 1

photo 3

photo 5

photo 2

photo 1

photo 3

photo 4

photo(1)

Carrot Muffins with a Cream Cheese Surprise

A year and a half ago, my dear friend Alison gave me the most beautiful cookbook for my birthday. The Thomas Keller Bouchon Bakery. It has been my coffee table book every since. While I have dreams of making every recipe in the book, so far I am stuck on the carrot muffins, blueberry muffins, and lemon poppy seed muffins. They are both so delicious that I don’t have any reason to branch out.

Flash forward to this weekend. I had 8 oz. of cream cheese in my refrigerator that was about to expire, so I HAD to bake something with cream cheese. I’ve been on a whole wheat muffin kick recently, and King Arthur Flour had a recipe for Cream Cheese Carrot Cake Muffins. So! Then I had an idea to make the amazing Bouchon Bakery carrot muffins with a cream cheese filling while replacing some of the all purpose flour with white whole wheat flour.

These muffins require you to shred the carrots individually, but it makes them oh so delicious. The traditional recipe has an oat topping, but since I was adding the cream cheese filling, I skipped the topping.

Enjoy!

Bouchon Bakery Carrot Muffins
(ever-so slightly adapted)

1st:
Shred 1 ¾ cup carrots
image

image
2nd:
Sift together (I don’t have a sifter, so I just stir with a fork):
90 grams whole wheat flour (5/8 cup + 1 tsp.)
90 grams all-purpose flour (5/8 cup + 1 tsp.)
¾ tsp. baking soda
¼ tsp. baking powder
1 tsp. cinnamon
1 tsp. salt

3rd:
In a separate bowl, whip with a fork:
1 cup + 2 tsp. sugar
½ cup + 2 Tbsp. vegetable oil
1 tsp. vanilla bean paste

Mix in:
1 egg

4th:
Gently fold the flour mixture into the liquid mixture. I did this in three parts.

5th:
Stir in the shredded carrots.

6th:
Cover and leave in the refrigerator overnight.

7th:

Preheat oven to 400 degrees. Mix 8 oz. cream cheese with 1/8 cup sugar.  Fill half of muffin cups with batter. Place a dollup of cream cheese mixture on top. Then cover with the rest of the batter.

Lower temperature to 325. Bake for 18-20 minutes


imageimageimageimage

Chocolate Ice Cream!

So, I said that I was going to start blogging again. That was over a month ago. So I better post something!

Two of my recent favorite things to make are yogurt and ice cream. Both involve heating up milk and are actually quite easy. I’ll start with a post for my favorite ice cream flavor so far – chocolate! It is actually quite strange that this is my favorite, since I never buy chocolate ice cream – whether it is from the an ice cream shop or the grocery. I’m more of a sweet cream or cake batter fan.

This ice cream though… is awesome. When it first comes out of the ice cream maker and before it is frozen, it is almost the consistency of a Wendy’s Frosty. And who doesn’t love a good Frosty?? The difference in this recipe from other ice cream recipes is that you actually whip up the cream in a mixer before adding the milk / chocolate base and putting it in the ice cream maker.

Now… it is key that you have an ice cream maker. I have a Cuisinart which was only about $50. I recommend you get one! Last year I moved from a town that had the best ice cream ever. Since I couldn’t find ice cream that good near me anymore (and yes, I live in NYC!), I purchased the ice cream maker. It is awesome and so fun.

This ice cream is best if you can make sure that the semi-sweet (or whatever type you use) chocolate doesn’t completely melt. On my bike ride today (because of course I was thinking of food), I realized that mint chocolate chips in this ice cream would be absolutely delicious. You could also try adding marshmallows and peanuts to do a rocky road!

Anyway… have an ice cream maker? Try this out and enjoy!

Recipe (adapted from http://straightfromthefarm.wordpress.com/2008/09/30/dark-chocolate-rosemary-ice-cream/ which I’ve made before and is also good).

¾ cup sugar
1 cup milk
¼ tsp. salt
1 tsp. vanilla paste or vanilla extract
¼ cup cocoa powder
3 egg yolks
2 ounces chocolate (semi-sweet, dark, milk chocolate chips, whatever!)
2 cups heavy cream
First:

Heat up the sugar, milk, salt, and vanilla until steaming. Take off the heat and add the cocoa.

photo 1

Separate your eggs (yolks separated from whites – do what you want with the whites!). Slightly beat. Then slowly add about ¼ cup of the chocolate/milk mixture to the eggs – while whisking them. This helps keep the eggs from cooking. Next, add the egg mixture to the rest of the chocolate. Heat up the mixture until thicker (but before it boils).

photo 2

Strain the chocolate mixture to remove any cooked eggs (it happens!) into a bowl that has been chilled.

photo 3

Add the chocolate and stir it in so it melts a bit.


Chill the bowl for 2 hours – I usually do it over night.

photo 4

Now… here is the key. Normally, you take the bowl out of the ice cream and add it to the ice cream maker immediately. (I accidentally did this last night). FIRST – you need to whip up the cream (2 cups) until fluffy.

Fold in the chocolate mixture.

photo 1

Now… add it to the ice cream maker, until… you have ice cream!

Eat immediately if you can or freeze until ready!

photo 3

Cupcakes in a cone: comparing methods

It’s that time of year again: time to plan Reid’s (my nephew) birthday cake! For his first birthday, we made a bear cake that was rainbow colored when you cut into it. On his second birthday, we put mini construction trucks on the cake. Given his obsession with curious George, we did a monkey for his 3rd birthday.

This year, the theme is easy: fire! because the party will be at the fire truck museum. We might do the Betty Crocker fire truck cake, but given its small size, we will need cupcakes to go along with it. The perfect excuse to make cupcakes in cones!

I have a distinct memory of a mom bringing cupcakes in cones for a classmate’s birthday in second grade. Sadly, I have no idea who the friend was, but I even remember that we ate them outside the classroom (near the flag pole lawn, for you SJSers reading this). I haven’t had them since, but I thought they would be perfect for the birthday party. We can dye the cake batter red and then use orange icing.

Next step: how to make them. After doing some research, I discovered there are two main methods. You can make cupcakes in a cupcake pan like you normally would except you invert a cone on top of the cupcake before baking them. Or, you can fill the cones with batter and bake them directly in the cone.

I obviously needed to try both methods, and that it was I am going to show you here. Ultimately, my preferred method is to make them directly in the cone. It requires some extra work, but I think worth it.

Method 1:Bake cupcakes directly in cone.

The first thing you need is a 9×13 (or larger) aluminum pan and a knife. Invert the pan onto a cookie sheet and cut holes in the pan that will fit the cones.

20130330-143952.jpg

This project was the most arts and crafts thing I’ve done in a long time. So trust me, if I can do it, you can too. You want to try to keep the holes far enough apart that the cupcakes won’t bake together.

Here is an image from below:

20130330-144155.jpg

Next:
Add the batter to the cupcakes and bake in the oven for the same time you would a cupcake:

20130330-144334.jpg

When they are done, remove from pan, and all you have left to do is ice them! I think they look prettier than the other ones, and as you can see, it fills up the cone more which makes them sturdier.

20130330-144457.jpg

20130330-144516.jpg

Method 2: Invert cone on cupcake before baking

This method is certainly quicker (by about 10 minutes) and doesn’t require the aluminum pan, but as you can see they burned a bit because you can’t check when they are done, and they came out a little moe lopsided.

1st step:
Pour batter into a cupcake paper lined pan. Invert cone on top.

20130330-144839.jpg

Put into the oven and bake as directed (this part is tricky because you can’t check for doneness):

20130330-144950.jpg

When the time says they are done, remove and take off the paper:

20130330-145029.jpg

20130330-145038.jpg

As shown below (and mentioned previously), they do not fill up the cone as much, so are not as stable.

20130330-145427.jpg

Either way, they look cute! I can’t want to make them like little fires for the birthday party!

Baking Duel Brownies

A baking duel. One recipe. Two bakers. It was on.

Our co-worker challenged Whitney and me to a baking duel. Not a bake-off with multiple recipes or slight variations. The same brownie recipe on the same day at the same time.

Really, I think he found “the best brownie recipe ever” and wanted someone to make it for him. Or… two people to make it for him. We were just the suckers that fell for it – or bakers who love any excuse to try out a new recipe.

The duel was set for Friday before spring break. Sure enough, for my first North East winter, it snowed – like 7 inches. It snowed so much that we had a “code red.” Unfortunately (or I guess fortunately since I’m the one that gets them), a code red in the army is not the same as a code red in the marines (and by marines, I mean the fake marines in the “a few good men”). A code red for us means that civilians do not have to be at work. But the duel must go on!

We showed up. So did the rest of our office. The rest of the building was gone, but our office was there. They were there for the duel. (Ok… Maybe they weren’t there for the duel – we are all just work obsessed and come in even when we don’t have to.)

The duel went off and the craziest thing happened. The brownies tasted very similar! The colors were different because there were different cocoas and one was thicker than the other, but I can honestly say they both were awesome.

This recipe is nice because it just calls for cocoa. I don’t always have unsweetened baking chocolate squares or dark chocolate bars, but I do always have cocoa.

Here is the recipe. I thought it was a little silly the was he says to cook the chocolate until you say “oww” when you put your finger in it. As it turns out, that is the perfect way to describe it!

Enjoy!

20130316-102507.jpg

20130316-102513.jpg

20130316-102524.jpg

20130316-102531.jpg

20130316-102538.jpg

20130316-102544.jpg

20130316-102609.jpg

Chocolate sweet rolls

I’ve been wanting to share this recipe for over a month now, but I keep messing up the icing. By messing up, I mean it doesn’t look pretty. It still tastes ridiculously amazing.

As with most things in life, when I come up with a genius idea, I then realize that someone else has already made it. I love cinnamon rolls, and I love making them. They are so good that I don’t think they should be restricted just to pre-noon hours. Why not make them for a dinner dessert? And why not add chocolate to them?

That was my genius idea. Chocolate cinnamon rolls. Just to check, I googled it. What immediately popped up? Pioneer woman cooks chocolate chip cookie sweet rolls. I’d made her regular cinnamon rolls before, and they were awesome, so I knew this recipe would be no different.

The cool thing about her cinnamon roll recipes, is that 1/2 of it is make ahead. You can make the dough, let it rise, and then stick it in the fridge for up to 3 days before rolling out and then baking. If you don’t love waking up at 5am to make brunch, or if you are planning on making them for dessert, you can make 1/2 of them the night before!

As I’ve been inclined to do recently, I’ll just refer you to the link above and then give you a few hints and pictures:

1. After heating up the milk, you need to let it cool to warm before adding the yeast. She tells you to do this, but sometimes when I’m in a hurry, I skip over the directions. I did that one night and the dough never rose.

2. When making the icing, follow her instructions. Do not add all the ingredients at once and expect it all to come together. You’ll end up with clumps in your icing. If you don’t add enough powdered sugar, you’ll get an icing like the one below. Regardless, pour it on top. Cream cheese, butter, and sugar always taste good.

3. The chocolate really stands out, so I’d splurge and get some real good chocolate to make them extra delicious.

4. The regular cinnamon rolls are also awesome. When visiting my brother and sister in law a couple weeks ago, I made both in one weekend. I’ll let my brother tell you how many he ate for breakfast. It was… impressive.

5. Half a batch will yield about 30+ cinnamon / sweet rolls. That is usually enough for whatever I’m baking for.

Try them! Have fun with it! The base is awesome, so just go crazy with the toppings.

20130303-144633.jpg

20130303-144720.jpg

20130303-144731.jpg

20130303-144739.jpg

Wedding cake

I made a wedding cake!! Ok… It was actually 7 months ago, but still! It was exhausting, stressful, time consuming, and so amazingly worth it.

The groom is one of my good friends from grad school and his wife is a doctor who makes her own quilts – talk about talented! Knowing the groom and his desire for perfection when it comes to food and the bride’s amazing artistic talents, I was nervous… to say the least… but incredibly flattered that they would even ask me to make the cake.

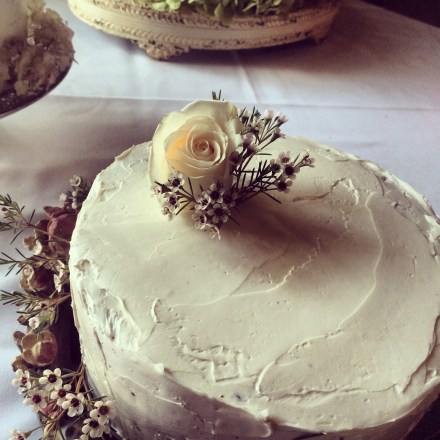
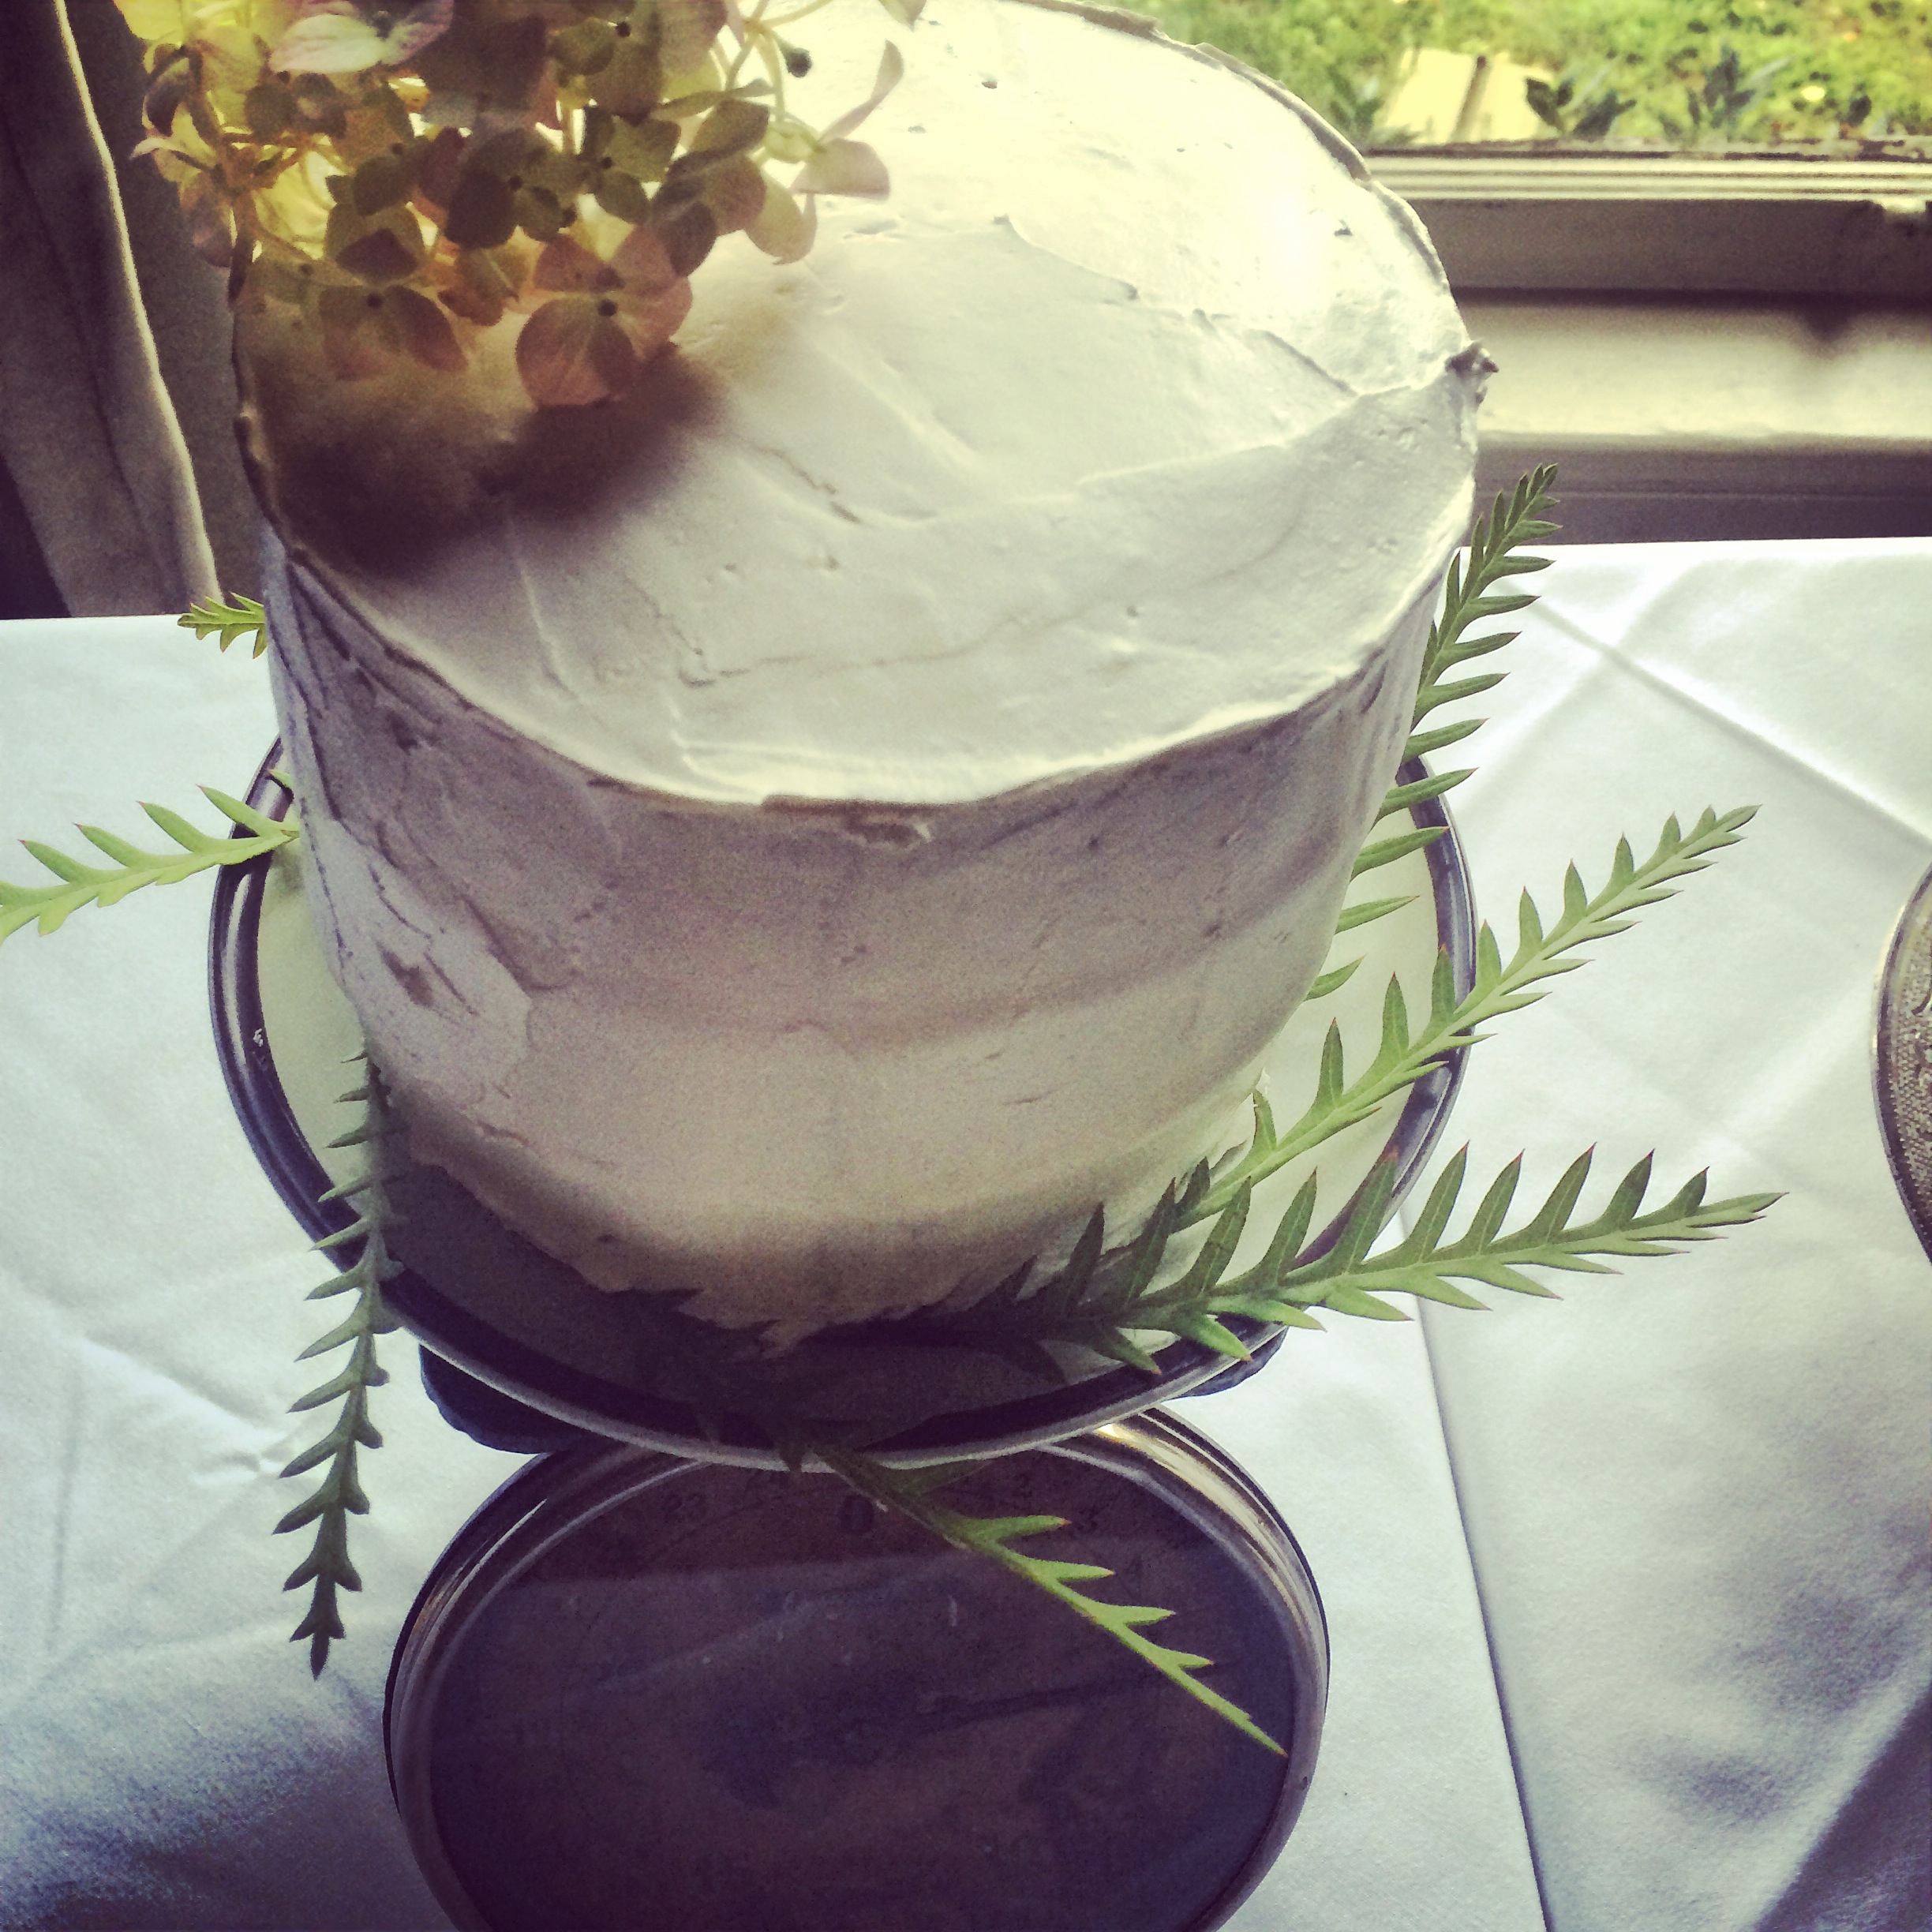
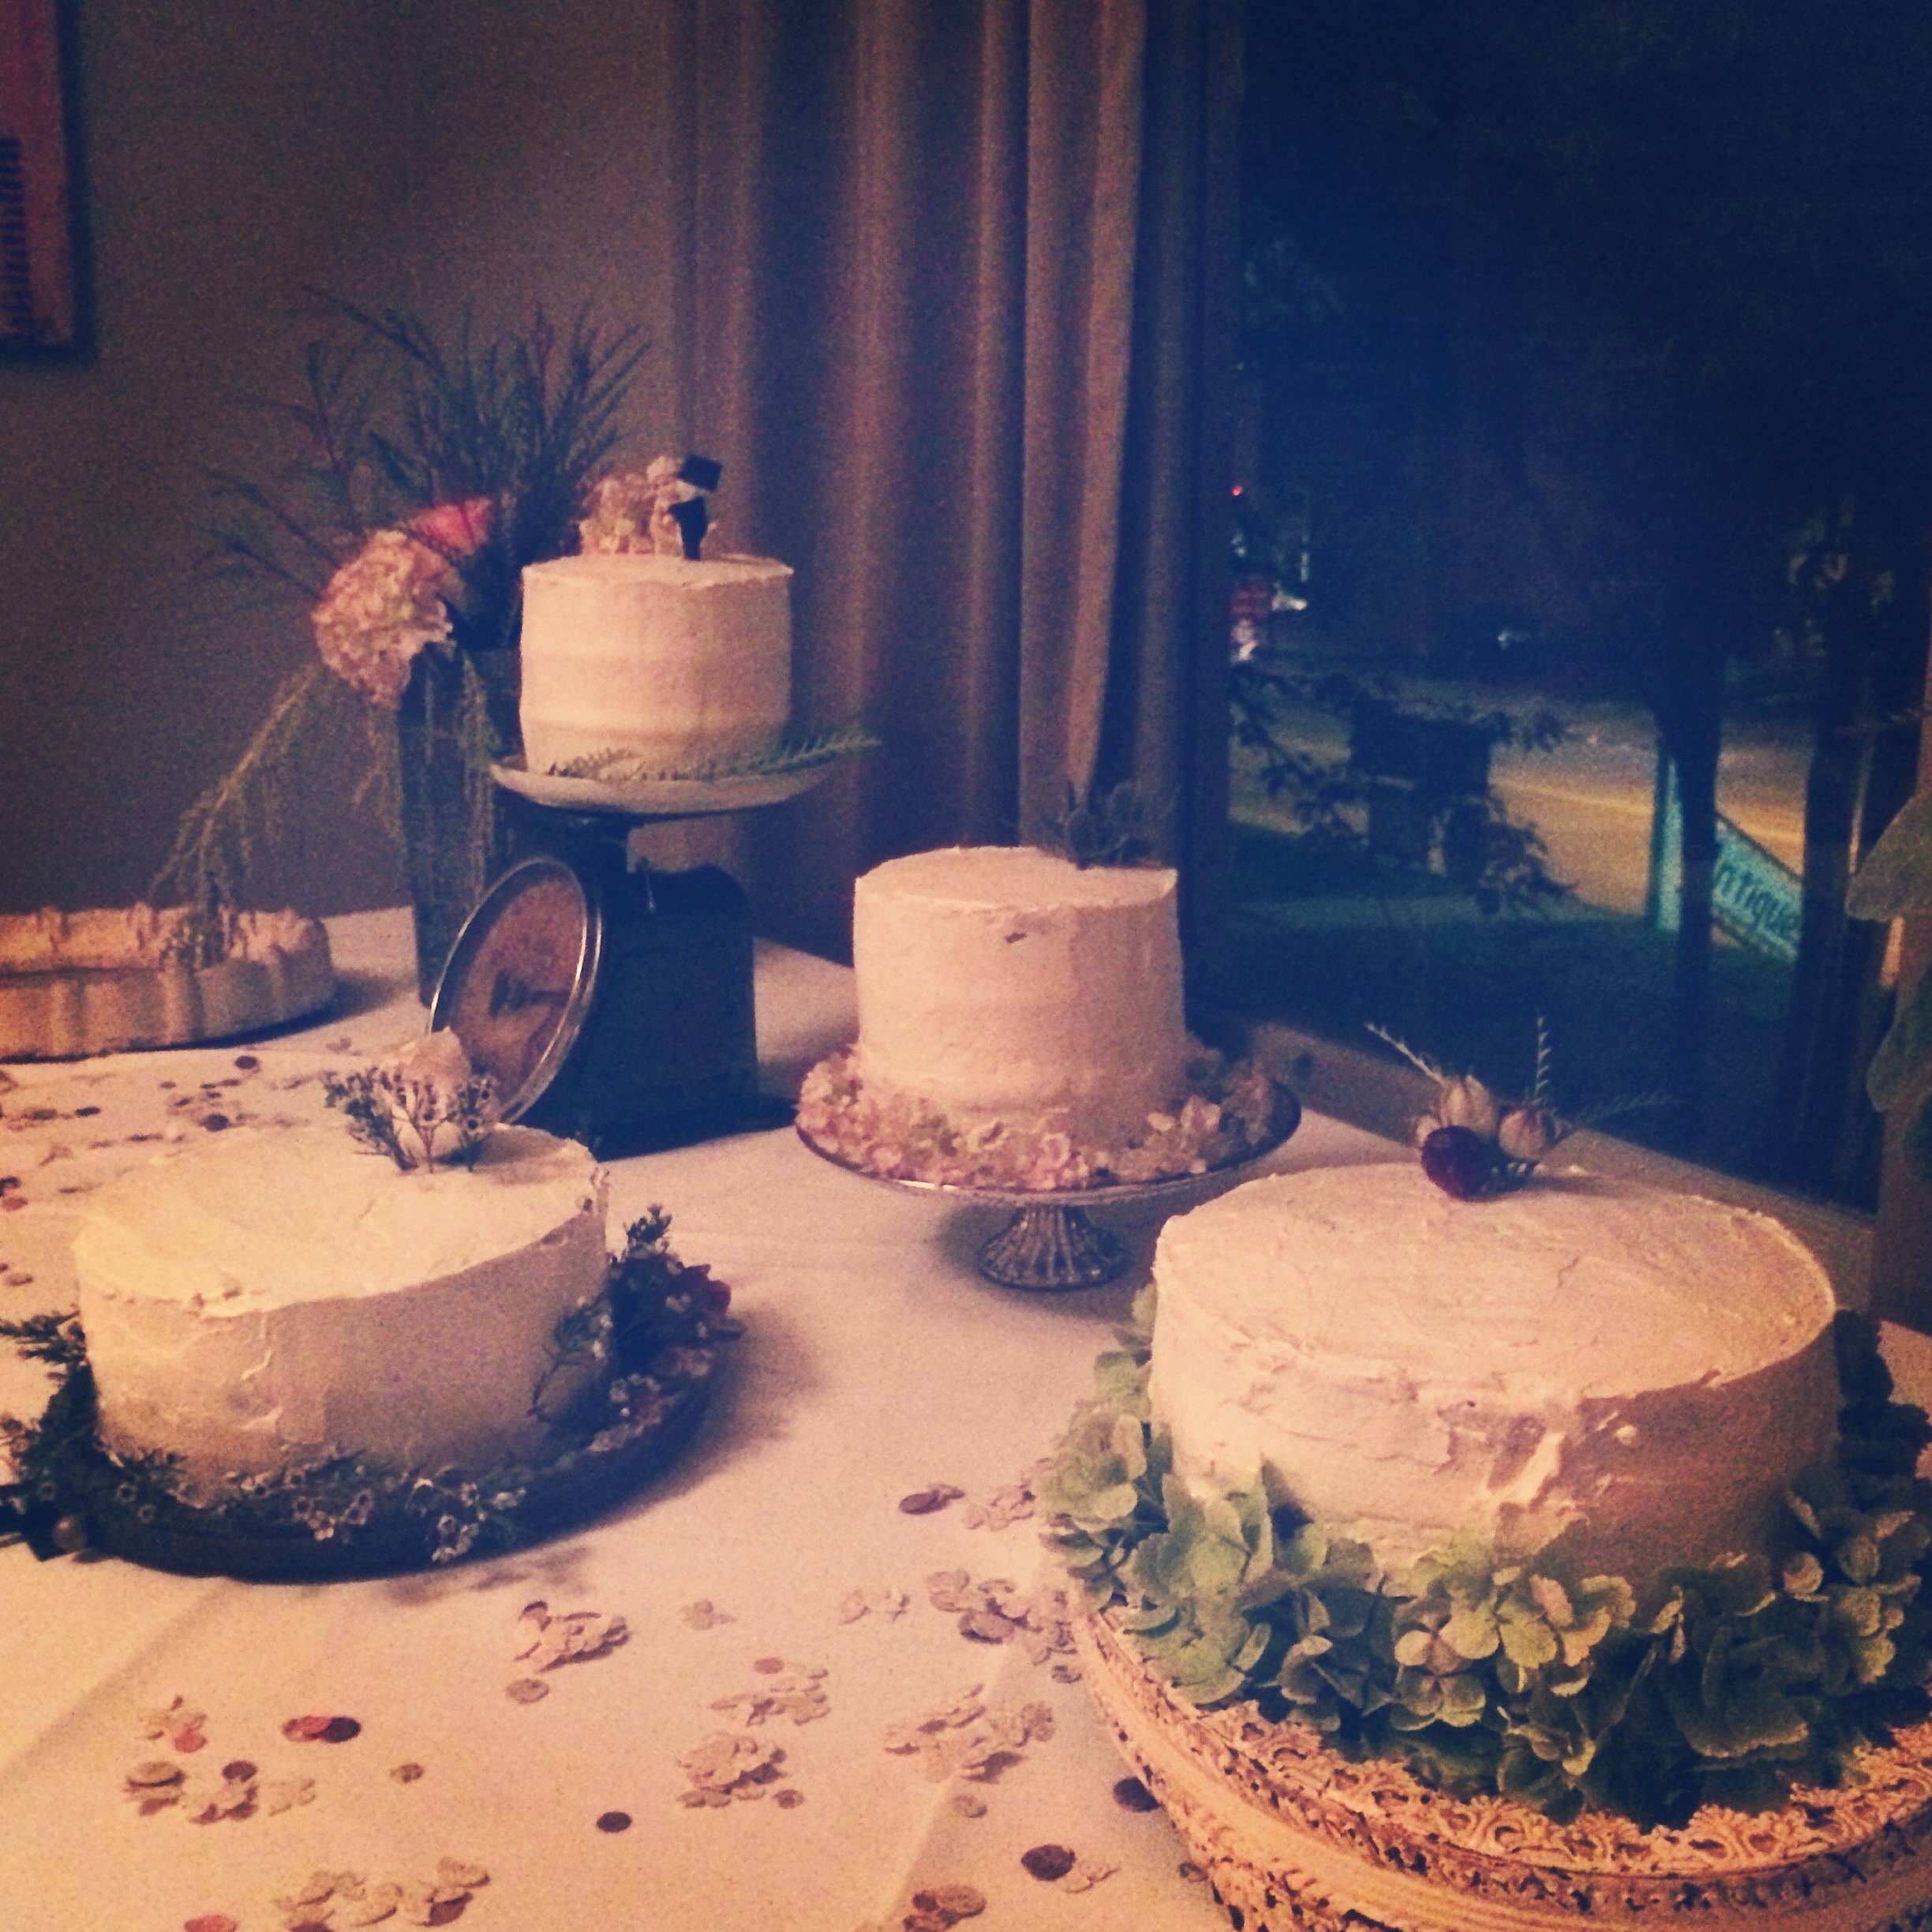
The wedding was outdoors and the bride had her hand in everything, making it a beautiful, vintage-y wedding where my cake could fit in. I told them that two levels was my max, but that I’d be willing to make multiple cakes, and they were completely flexible with me. The florist provided the flowers to decorate the cake, so all I had to do was bring three white cakes. Simple really.

I had made the main cake for a birthday party, and the bride and groom requested it specifically: a lemon infused white cake with strawberries and a white chocolate icing in between the layers. The whole cake was supposed to be covered in the white chocolate icing, but the night before when the icing wasn’t coming out like I wanted, I made a last second decision to still use the icing for the filling between the layers but made a cream cheese icing to cover the cake. Everyone loves cream cheese icing (unless you are crazy), so I knew it would work out.

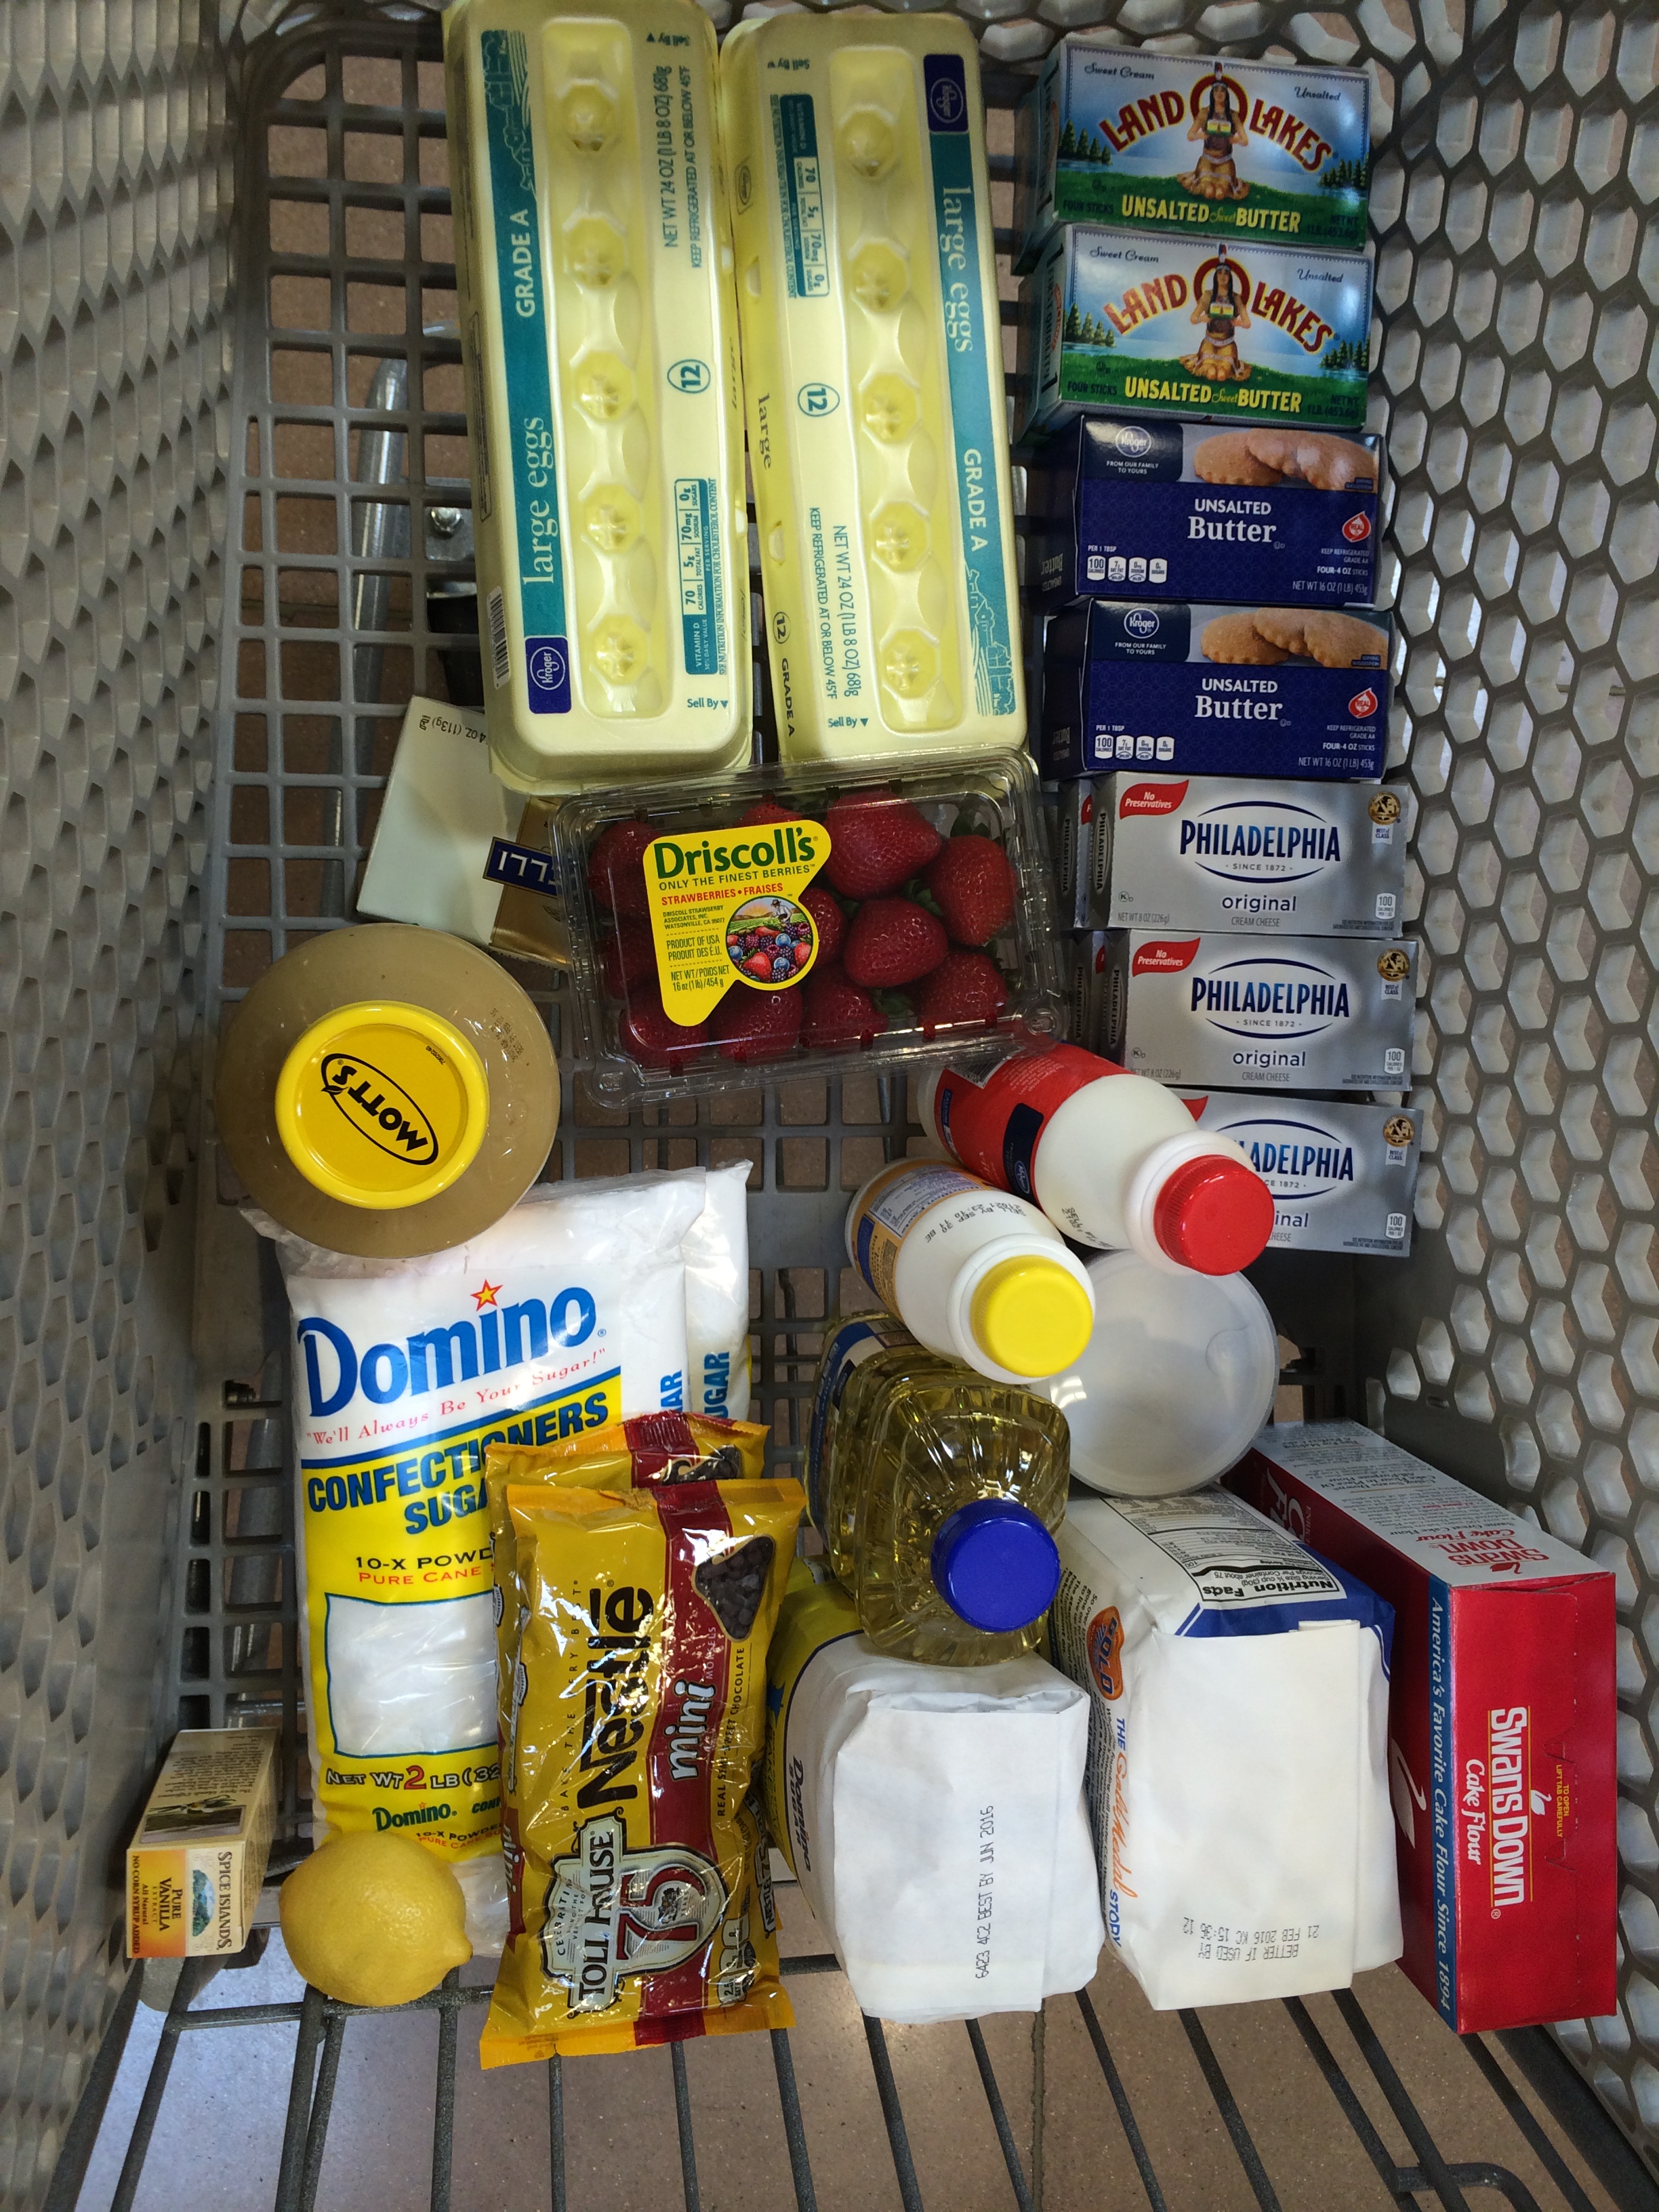
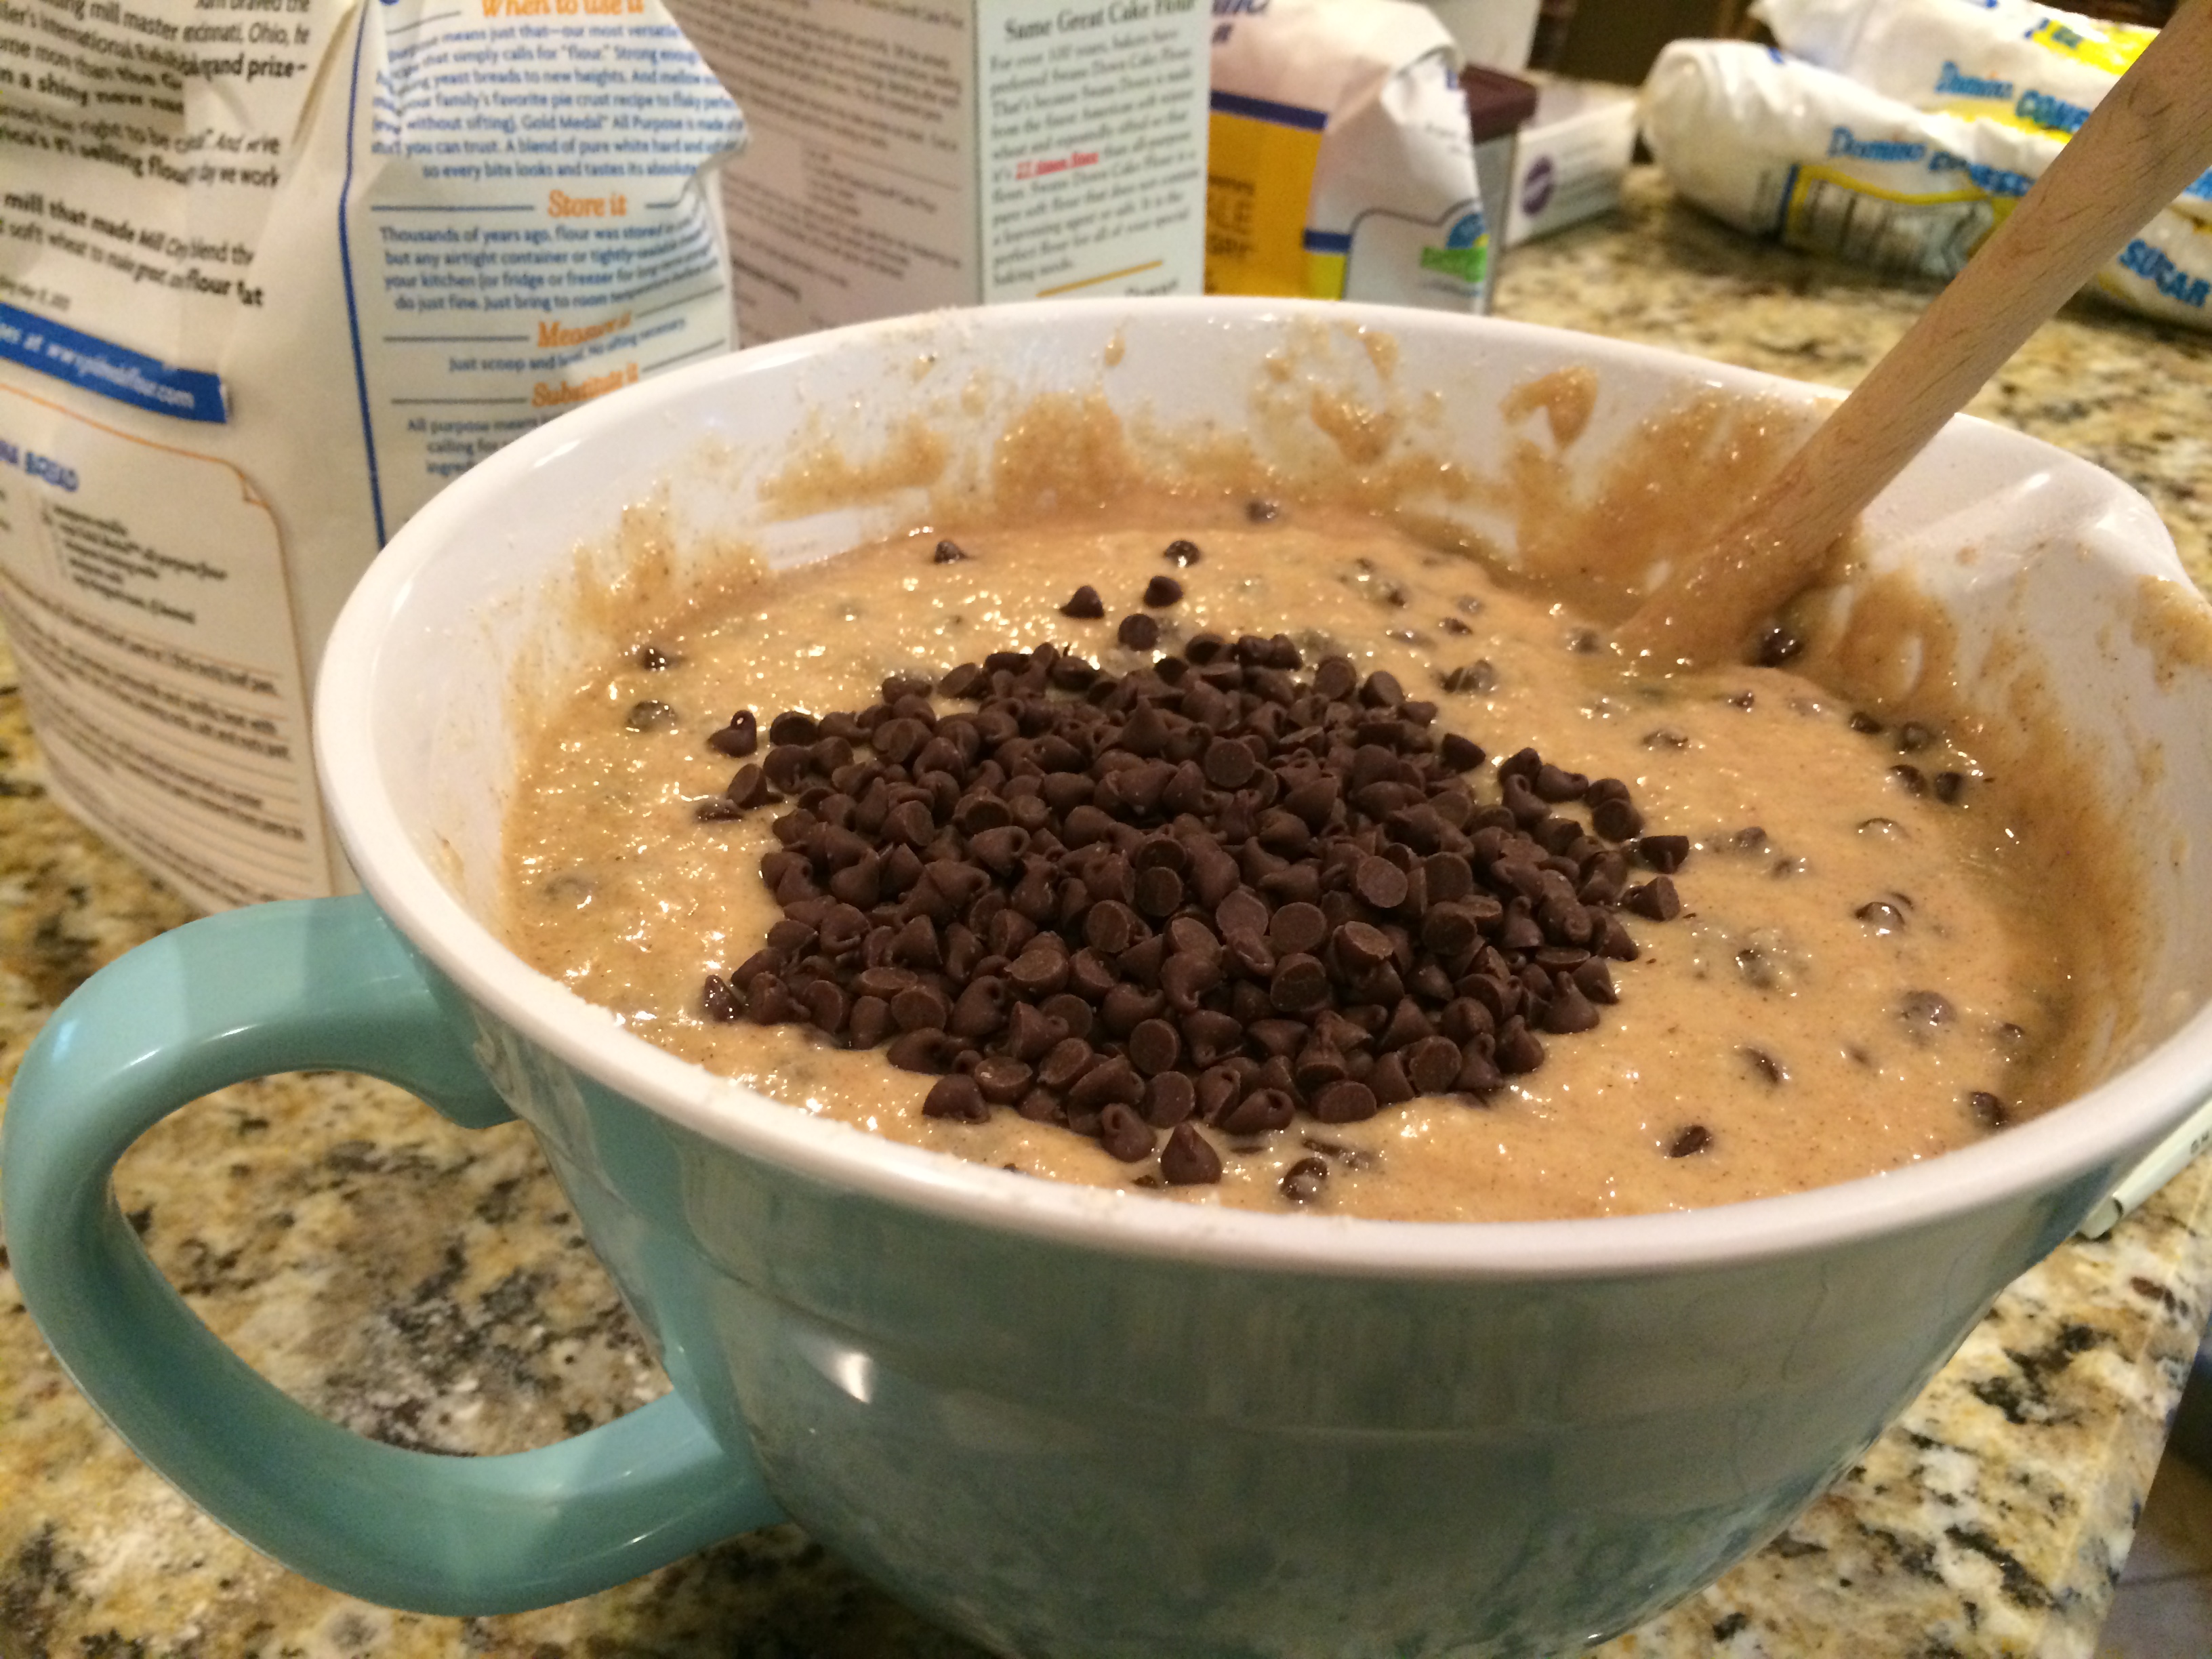
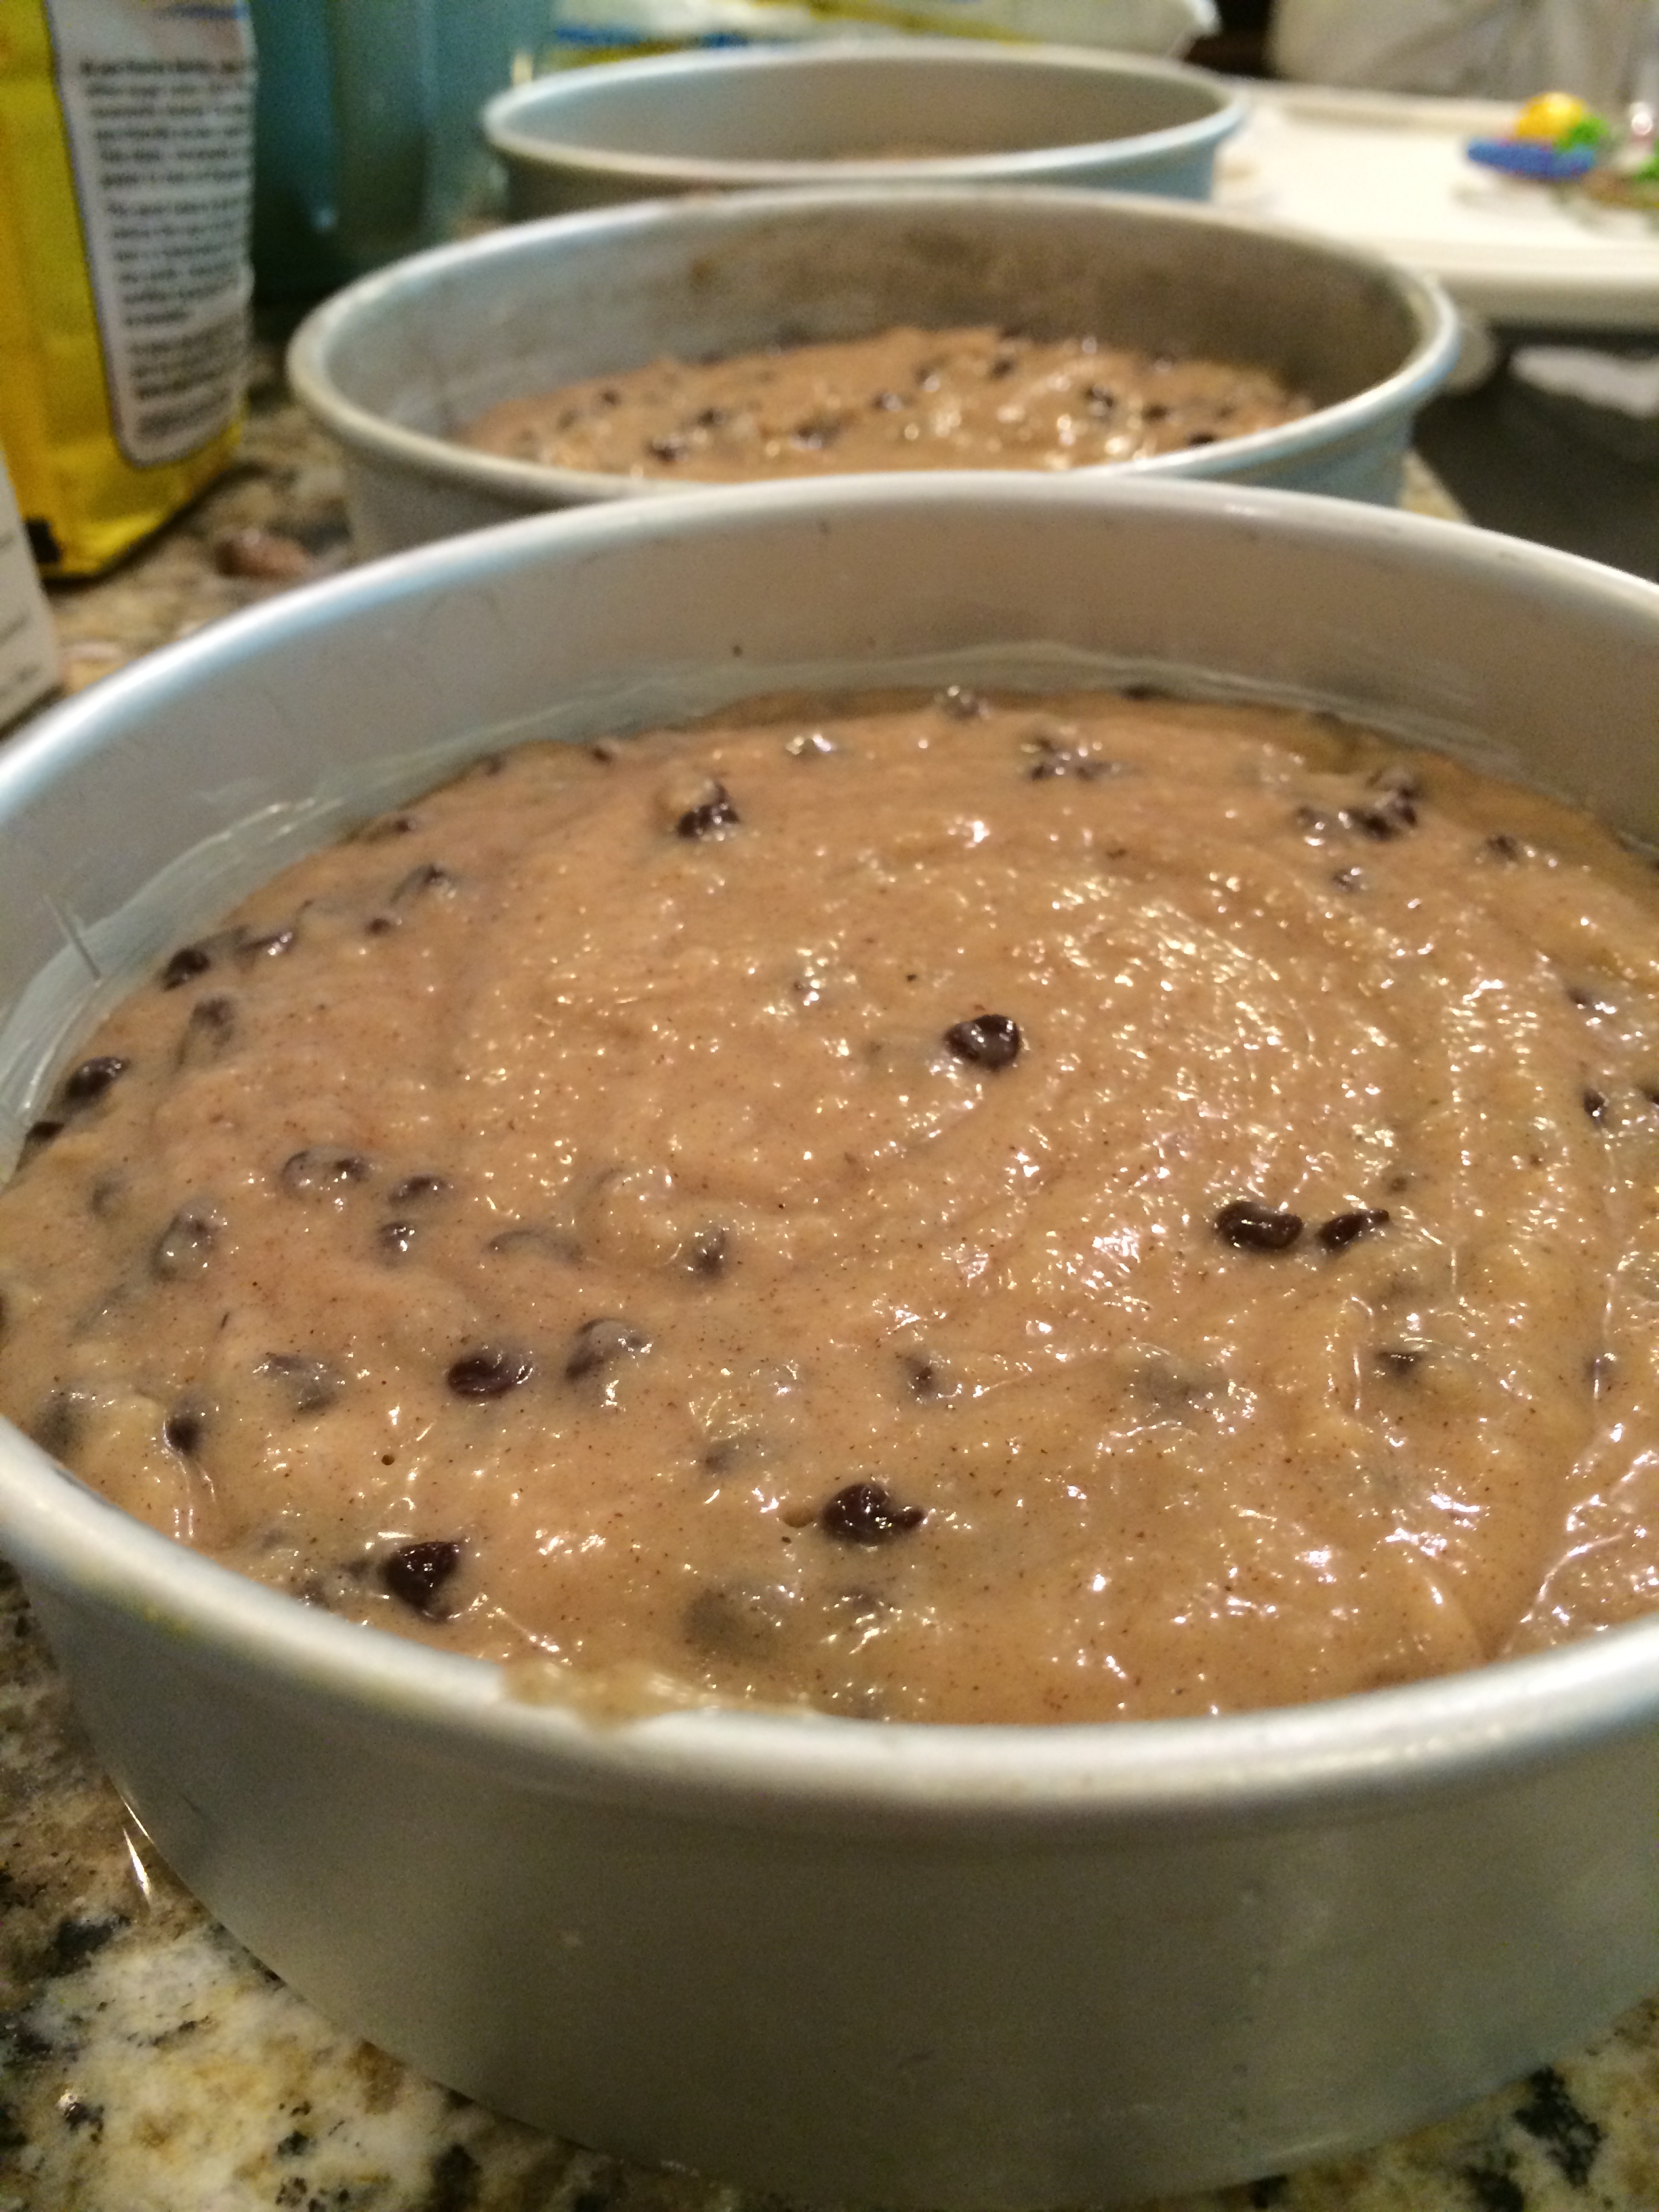
The other two side cakes included a chocolate chip spice cake and a chocolate cake with a raspberry and chocolate filling. The transportation of the cakes went fairly well. I bought some boxes for each cake and planned on assembling the two layer cake when I arrived. I cringed on every bump, especially when I reached the farm and I felt like I needed a 4-wheeler just to reach the venue. Fortunately the cakes were intact and unharmed when I arrived. I went into the house to assemble the cakes and the whole wedding party was there! Talk about stressful. Everyone was going to be watching me ungracefully place one cake on top of another. Half an hour later they were together, the flower was on top, and I was done.

The cutting of the cake is always my favorite part at a wedding reception, and this one was extra special. Especially when I saw the bride whisper “this is good” after she took a bite. It wasn’t the fanciest wedding cake, or the most professionally done, but if it tasted good, at least I could sleep that night.

*i made this cake last week for a work bake-off and lost. Again. I guess it wasn’t that good….

So, after 7 long months, I’ll tell you how I made the cake.

I found this beautiful white cake on tastespotting.com.
The directions are long and the author does a great job describing what to do. At the end of making the cake, fold in lemon zest from two lemons and then bake the cake.

When the cake is done, you can store it in the freezer for a day, which makes it easier to level. When you are ready to assemble the cake, cut up 1 pint of strawberries and store in lemon juice from two lemons and 1 tsp. sugar.

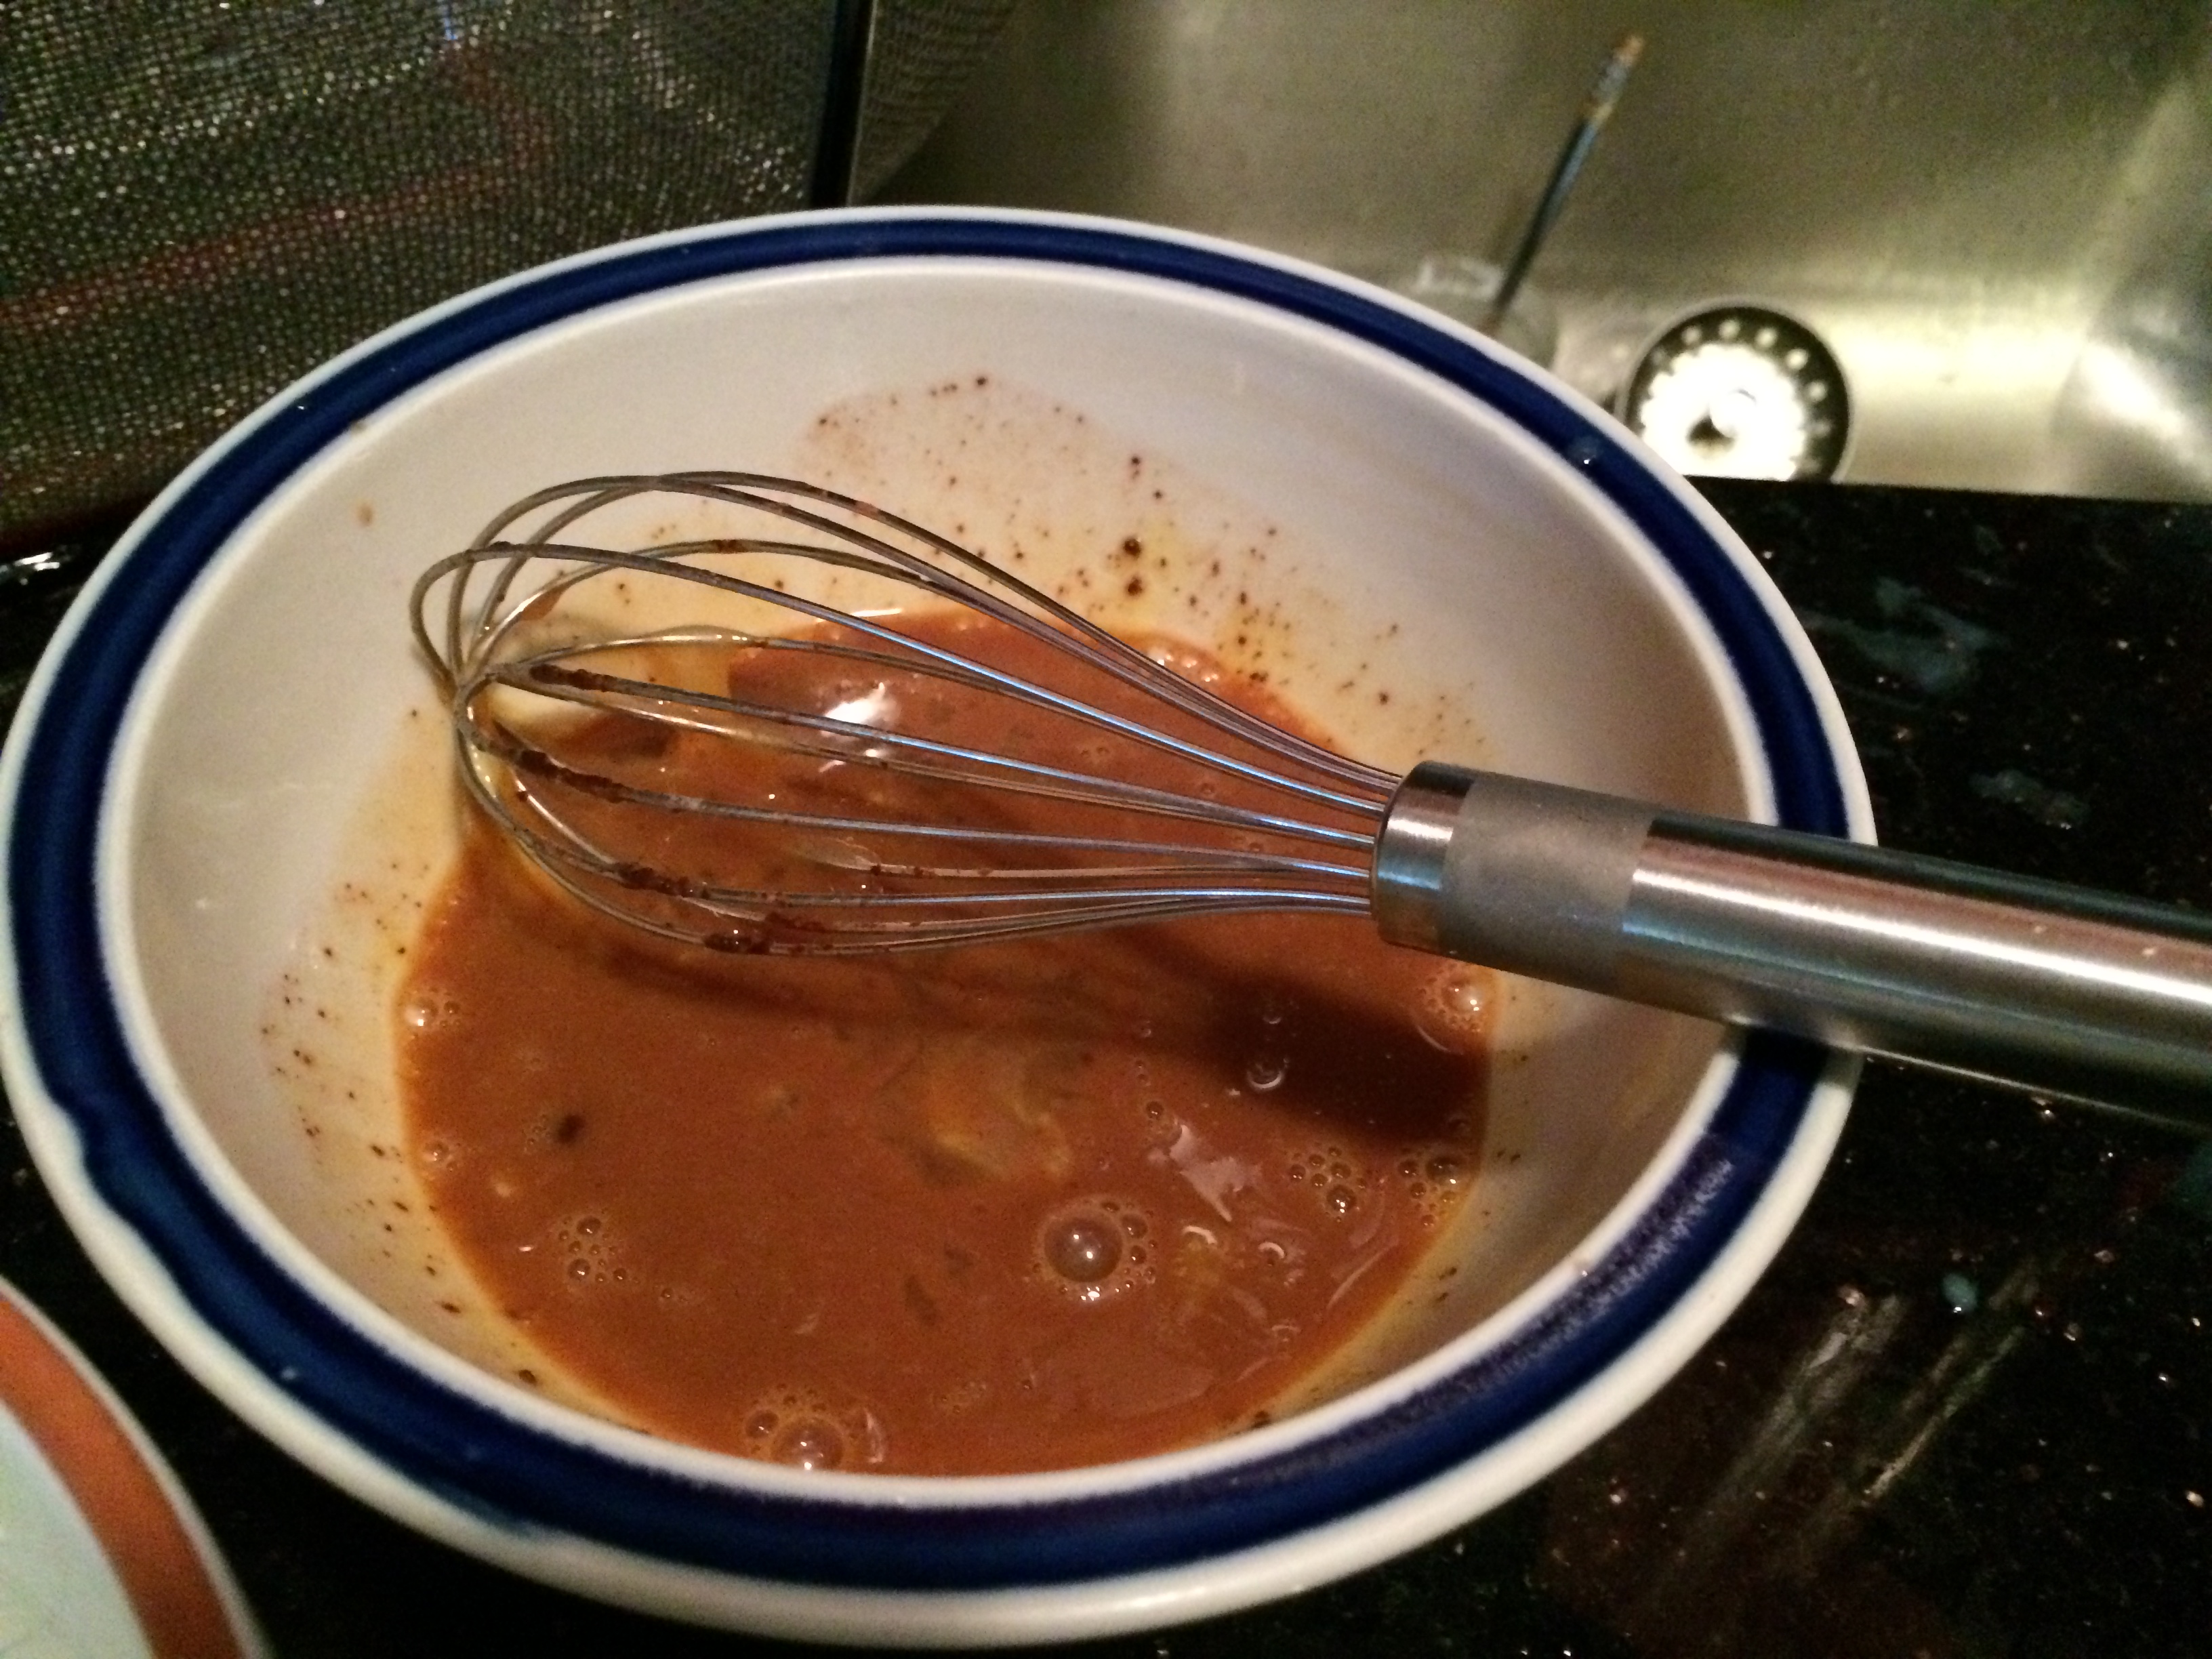
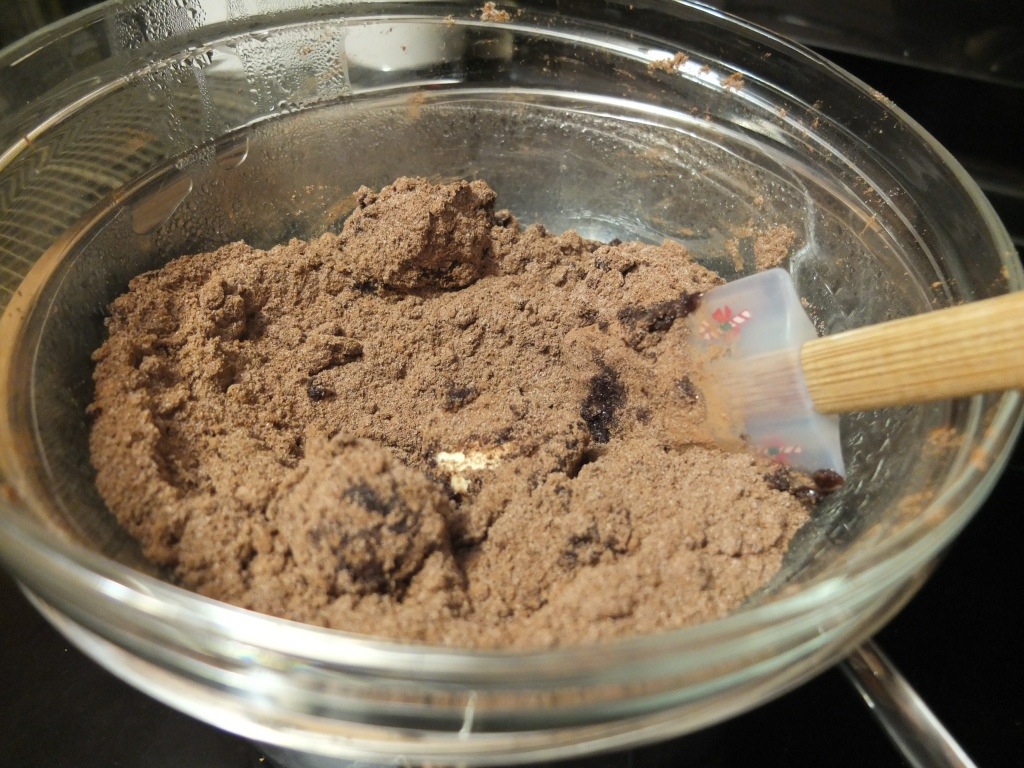
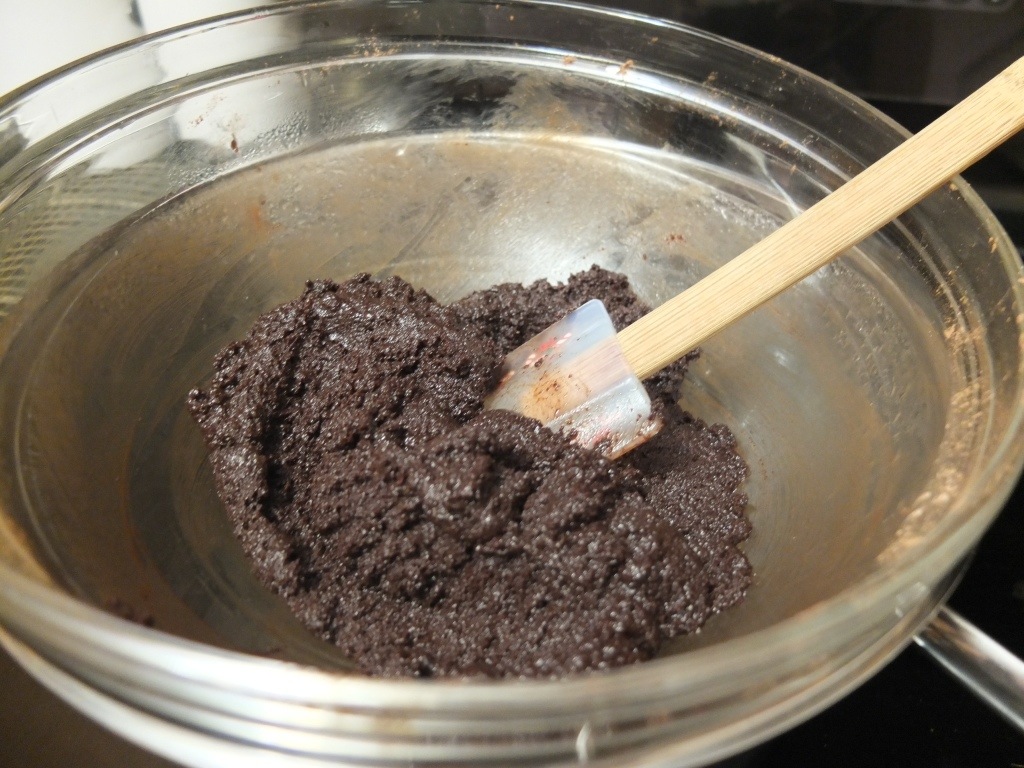
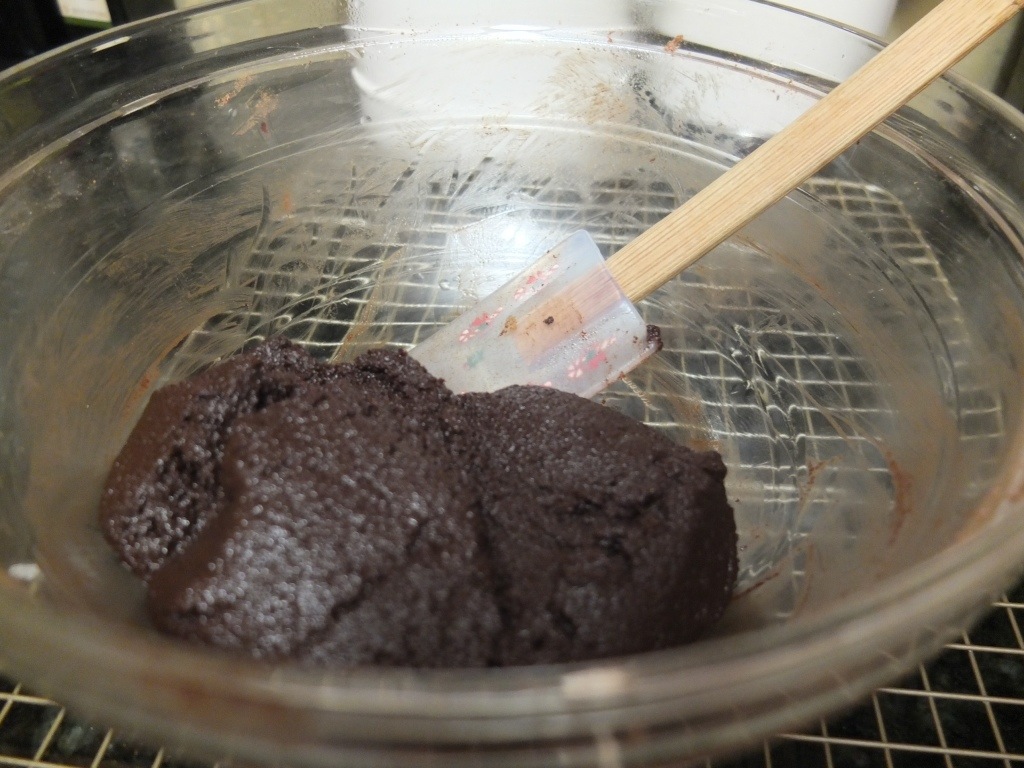
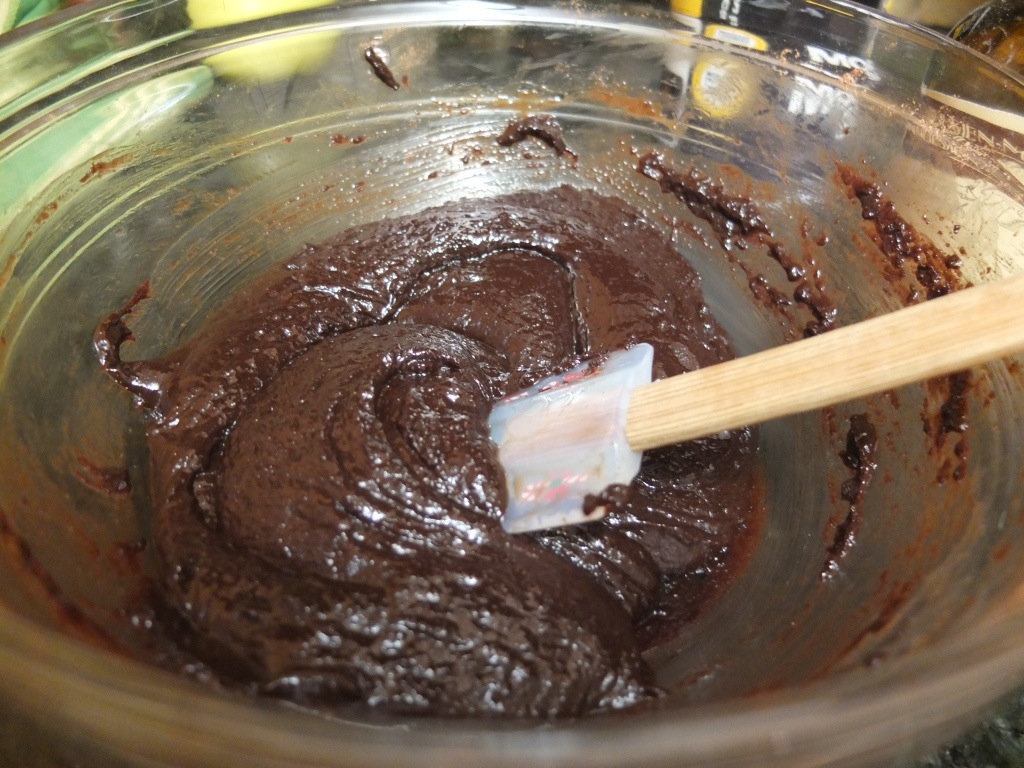
Prepare the white chocolate icing, as the instructions say. It is important to just continue beating the icing until cool and fluffy. I gave up the first two times and the icing never came together.

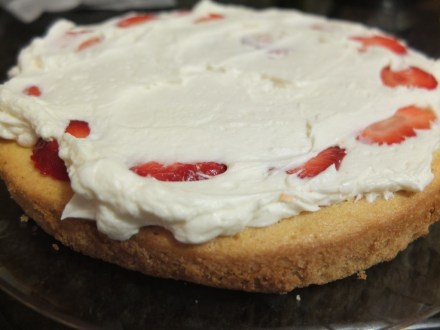
Place one layer down and pour on 1/3 of strawberry, lemon juice and then place 1/2 the strawberries on top of the cake.

20130224-094228.jpg

Add icing on top:

20130224-094413.jpg

Repeat with the next two layers, finishing the top level with juice but no strawberries:

20130224-094521.jpg

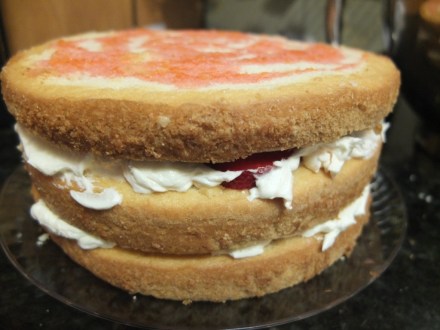
Ice with either the remaining white chocolate icing or a cream cheese icing. Store in the fridge until ready to serve.

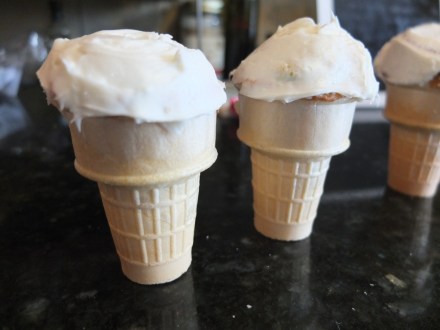
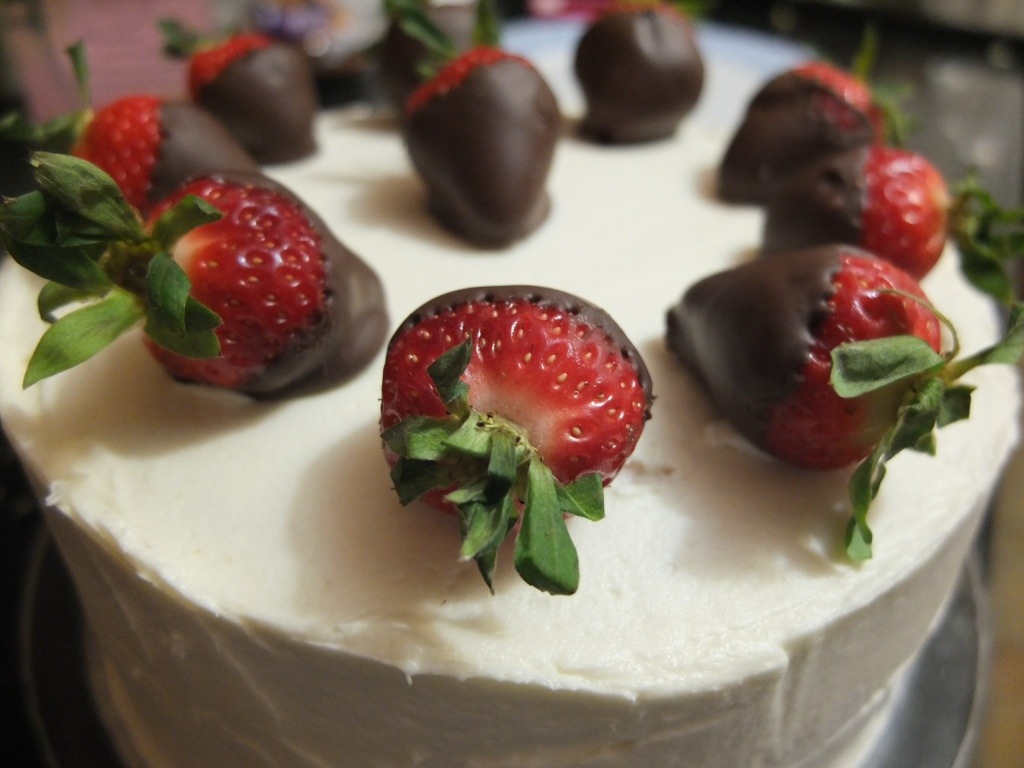
When I made the cake for the bake-off, I decorated with some chocolate covered strawberries:

20130224-094714.jpg

20130224-094731.jpg

If you want more info on how to assemble a two layer cake or more instructions on this specific cake, just let me know!

Chocolate chip cookie pie

I bake to celebrate friends’ birthdays. I bake for dinner parties. I bake to test out a new, intriguing recipe. I bake for weddings (well, I’ve just done one). I bake for bake-offs. I bake for my students when they have a long lab or a big test.

Sometimes I just need to bake… for me. Not because I need to, eat but because I need to bake. It relaxes me, calms me, and then finally cheers me up.

Yesterday was one of those days when I just needed to bake. As usual, what I always want to bake is a pie. I didn’t want to go to the store (even though it is literally a quarter mile from my house… Just so cold!), and I didn’t have any normal pie ingredients. I did have the normal baking essentials: flour, sugar, butter, and chocolate. What kind of pie can you make with that? Well… a chocolate chip cookie pie!

I ate one slice right out of the oven with a cold glass of milk, and it was the perfect way to end another successful baking night. I chilled the pie overnight, and it tasted even better today as the ingredients all came together.

chocolate chip cookie pie
adapted from the blue bell cookbook

pie crust
1 1/2 cup flour
1 1/2 Tablespoon sugar
1/2 tsp. salt
1/4 cup butter
1/4 cup crisco
1/4 cup ice cold water

stir together dry ingredients.
cut in butter & crisco.
using a fork, mix in cold water.
cover in plastic and chill for 1/2 an hour.

cookie
3/4 cup softened butter
1/2 cup sugar
1/2 cup brown sugar
2 eggs
1/2 cup flour
1/2 tsp. sea salt
1 cup chocolate chips (or more!)
1/4 cup dark chocolate (or more!)
1/4 cup walnuts

in a mixer, blend butter and sugars until creamy.
mix in eggs.
on low, mix in flour and salt until just incorporated.
stir in chocolate and walnuts.

roll out pie crust.
pour in chocolate chip mixture.
sprinkle on sea salt, if desired.
bake at 325 for 55 minutes.

20130221-223336.jpg

20130221-223353.jpg

20130221-223402.jpg

Mozzarella Class

I’m diverging from the main premise if this blog, which is to pass along dessert recipes that I have recently made. Cheese, however, is sometimes a dessert, so I’ll claim that this isn’t too much of a stretch. Plus, as I discover more gems in NYC, I want to pass them along to you.

I’ve been on a mozzarella kick since I had dinner at Mailino in the city last fall. (Ina Garten from Barefoot Contessa was sitting at the table next to us, so you know it has to be good.) We ordered some mozzarella and prosciutto as an appetizer. This was no ordinary mozzarella; it was clearly homemade and each bite just melted in your mouth. I probably could have had just a plate of that for my meal.

A few weeks later, a friend introduced me to the to the Italian market, Eataly. Unlike Chelsea market on a Saturday night, eataly has been completely packed every time I have gone. If you are into Italian food, or food at all really, then you should check out eataly. At the front of the store, they have Italian chocolates and coffee. (I stopped by one night when my friend Michael was in town to have some delicious hot chocolate!)

20130219-195439.jpg

20130219-195522.jpg

When you get deeper into the market, you discover fresh prosciutto, milks, cheeses, olive oils, and more Italian cookbooks than you would know existed. Everyone is bumping into you and talking loudly, so there is no mistaking that you are in New York and not Italy, but you can eat like you are in Italy.

The greatest part of the market is watching the staff prepare fresh pasta. When I was there last, they were making gnocchi. If I lived in the city, I’d go here to pick up fresh pasta for special dinner parties – or just to share with a friend – for a special home cooked meal. Nothing beats fresh pasta and cheese.

20130218-143542.jpg

Back to mozzarella. I discovered they had a mozzarella class, and I jumped on the opportunity to sign up. In typical NYC fashion, it was a way over-priced class, but you better believe that I got some delicious homemade cheese. We started the class by learning about the process of making mozzarella, and the origins of mozzarella in Italy. (Fun fact: unlike with cows, the milking process of water buffalo and goats cannot be mechanized, which is why their milk and cheese is more expensive.). We left the class stuffed full of multiple kinds of mozzarella, salad, pasta, and pizza all made with their fresh mozza.

Main take-away from the class, which I will pass along to you: if you ever see homemade barrata on the menu, order it. It is the most amazing, buttery, melty mozzarella cheese you will ever have. Use a slice of Italian bread to sop up all of the yummy goodness (on the left in the picture below). Offer it to me for dessert, and I’d choose it over chocolate any day.

20130218-144655.jpg

20130218-144707.jpg

20130218-144714.jpg

20130218-144723.jpg

Finally, I’ll end this post with a quote from one of my sister and my favorite movies. (Bonus points if you know the movie.)
Kate: Spasm! Spasm! Oh, God, here it comes… lactose intolerance!