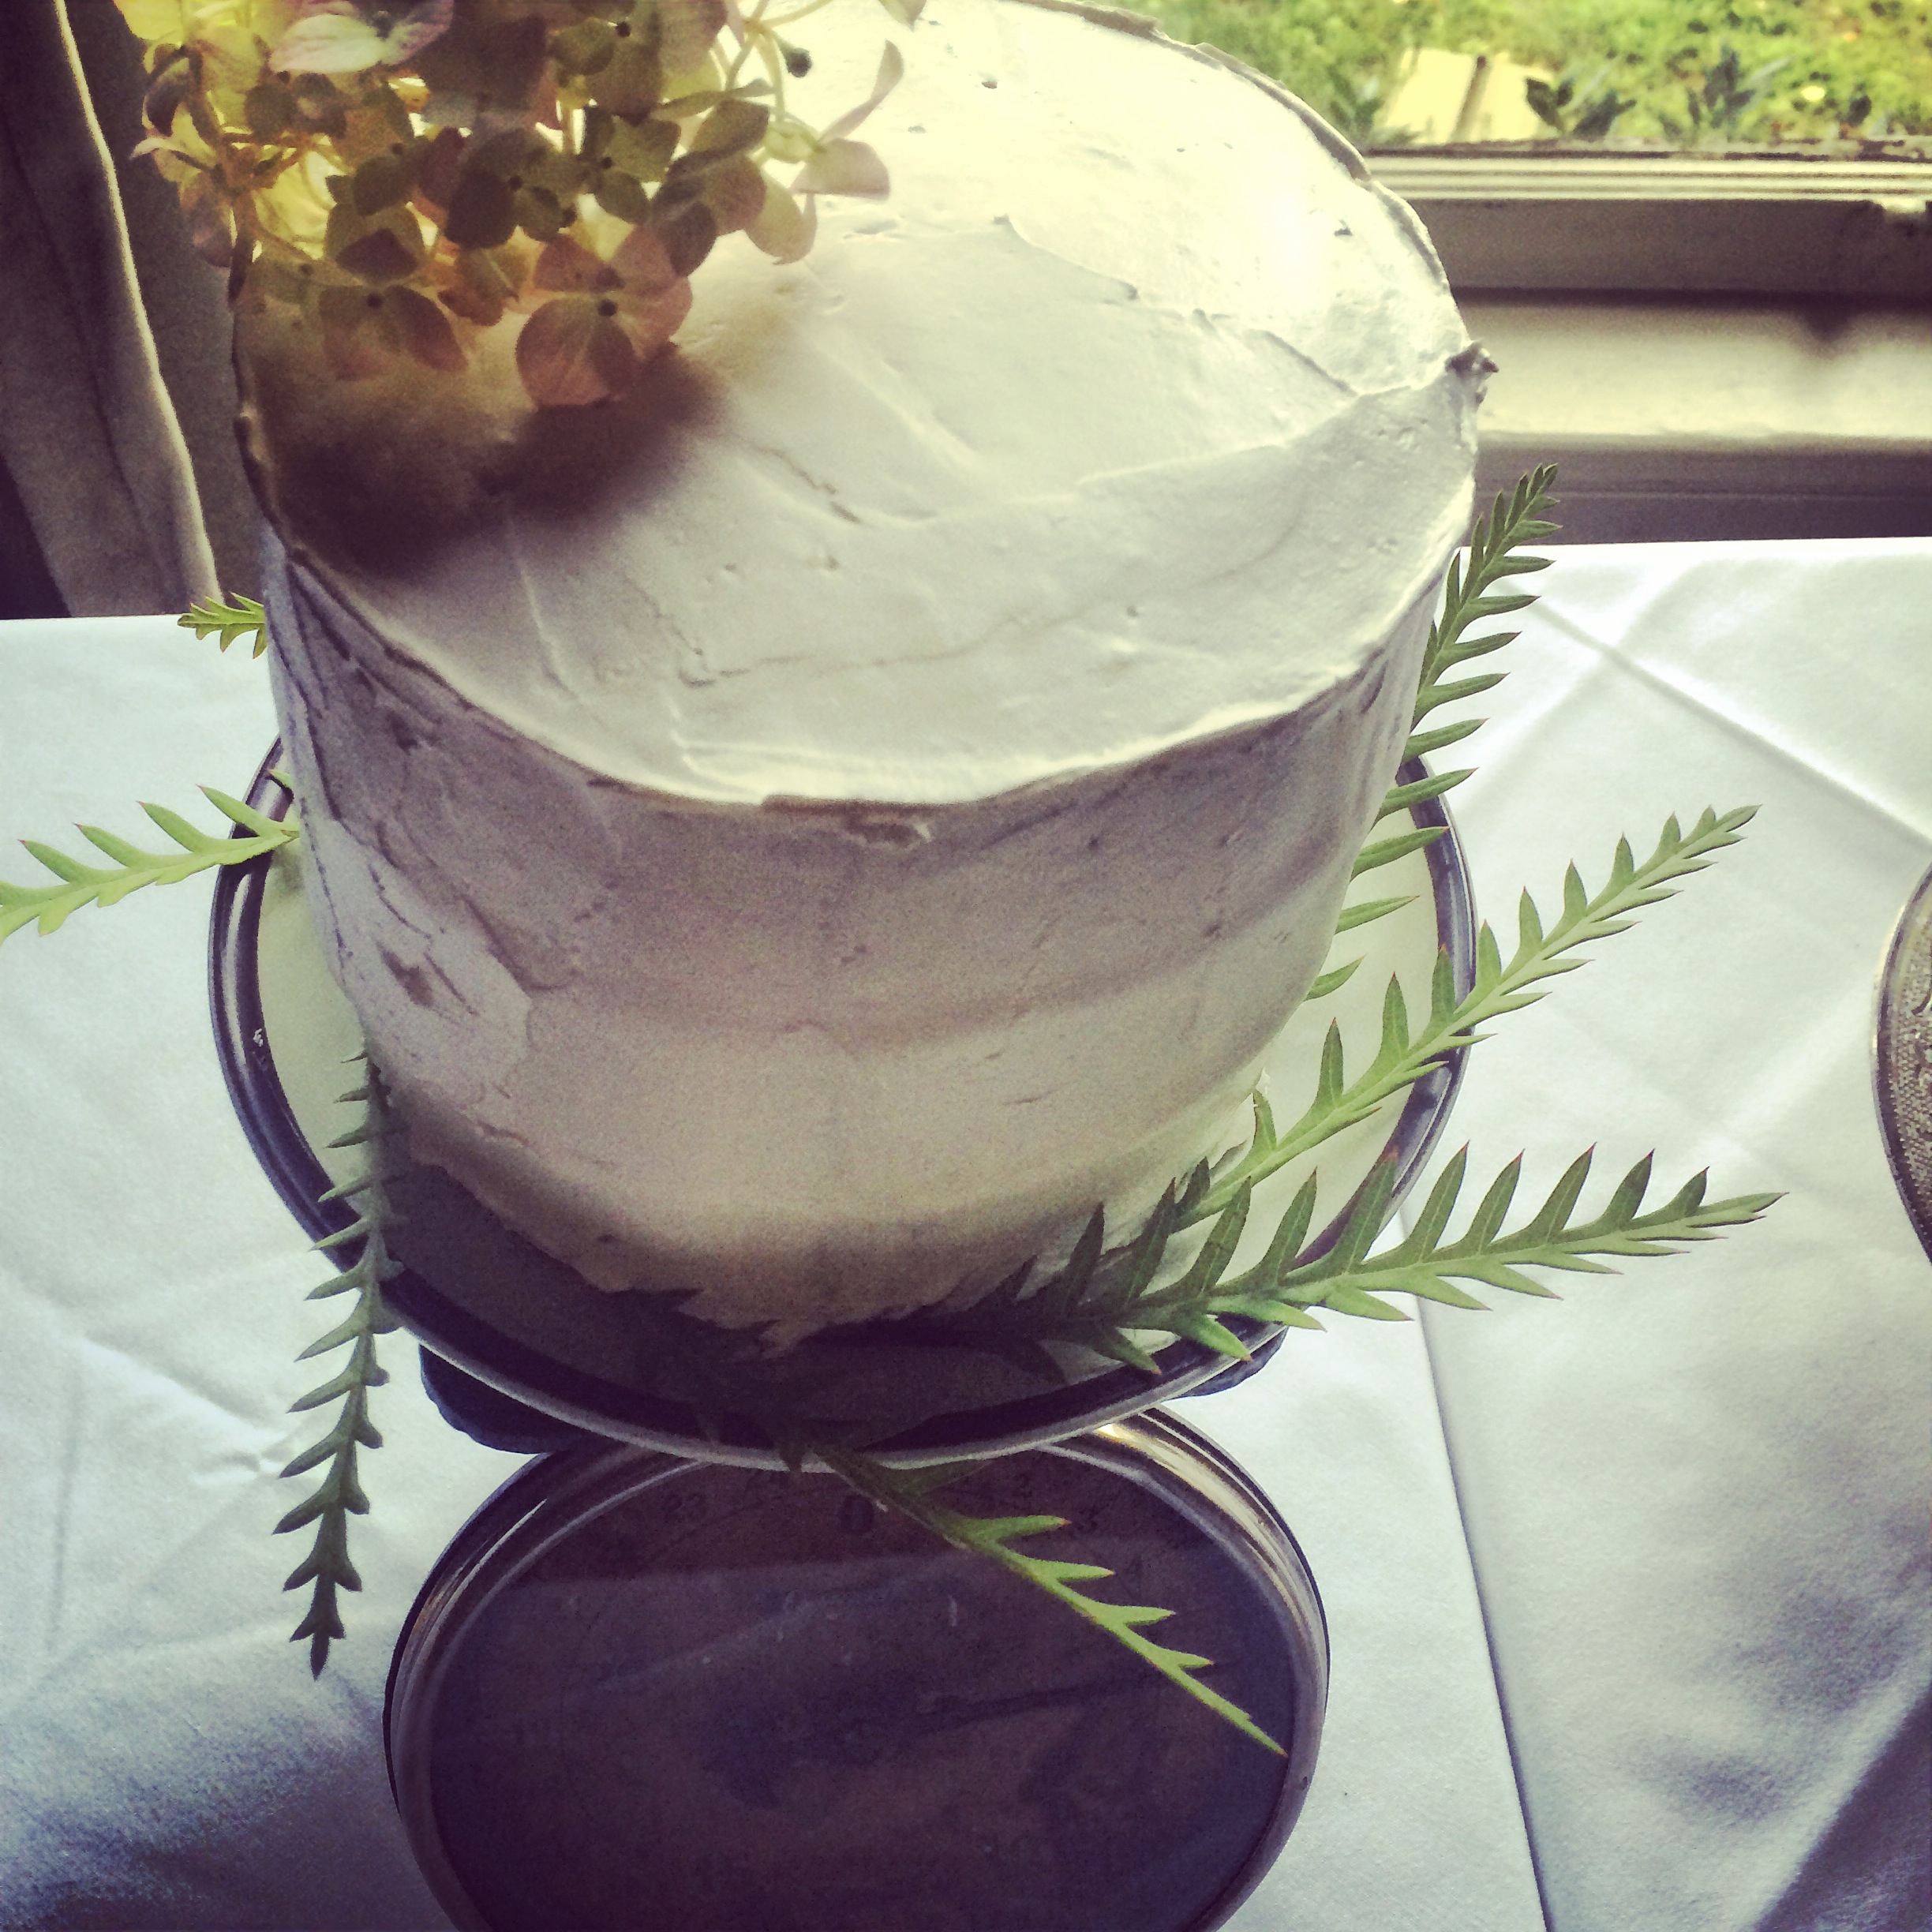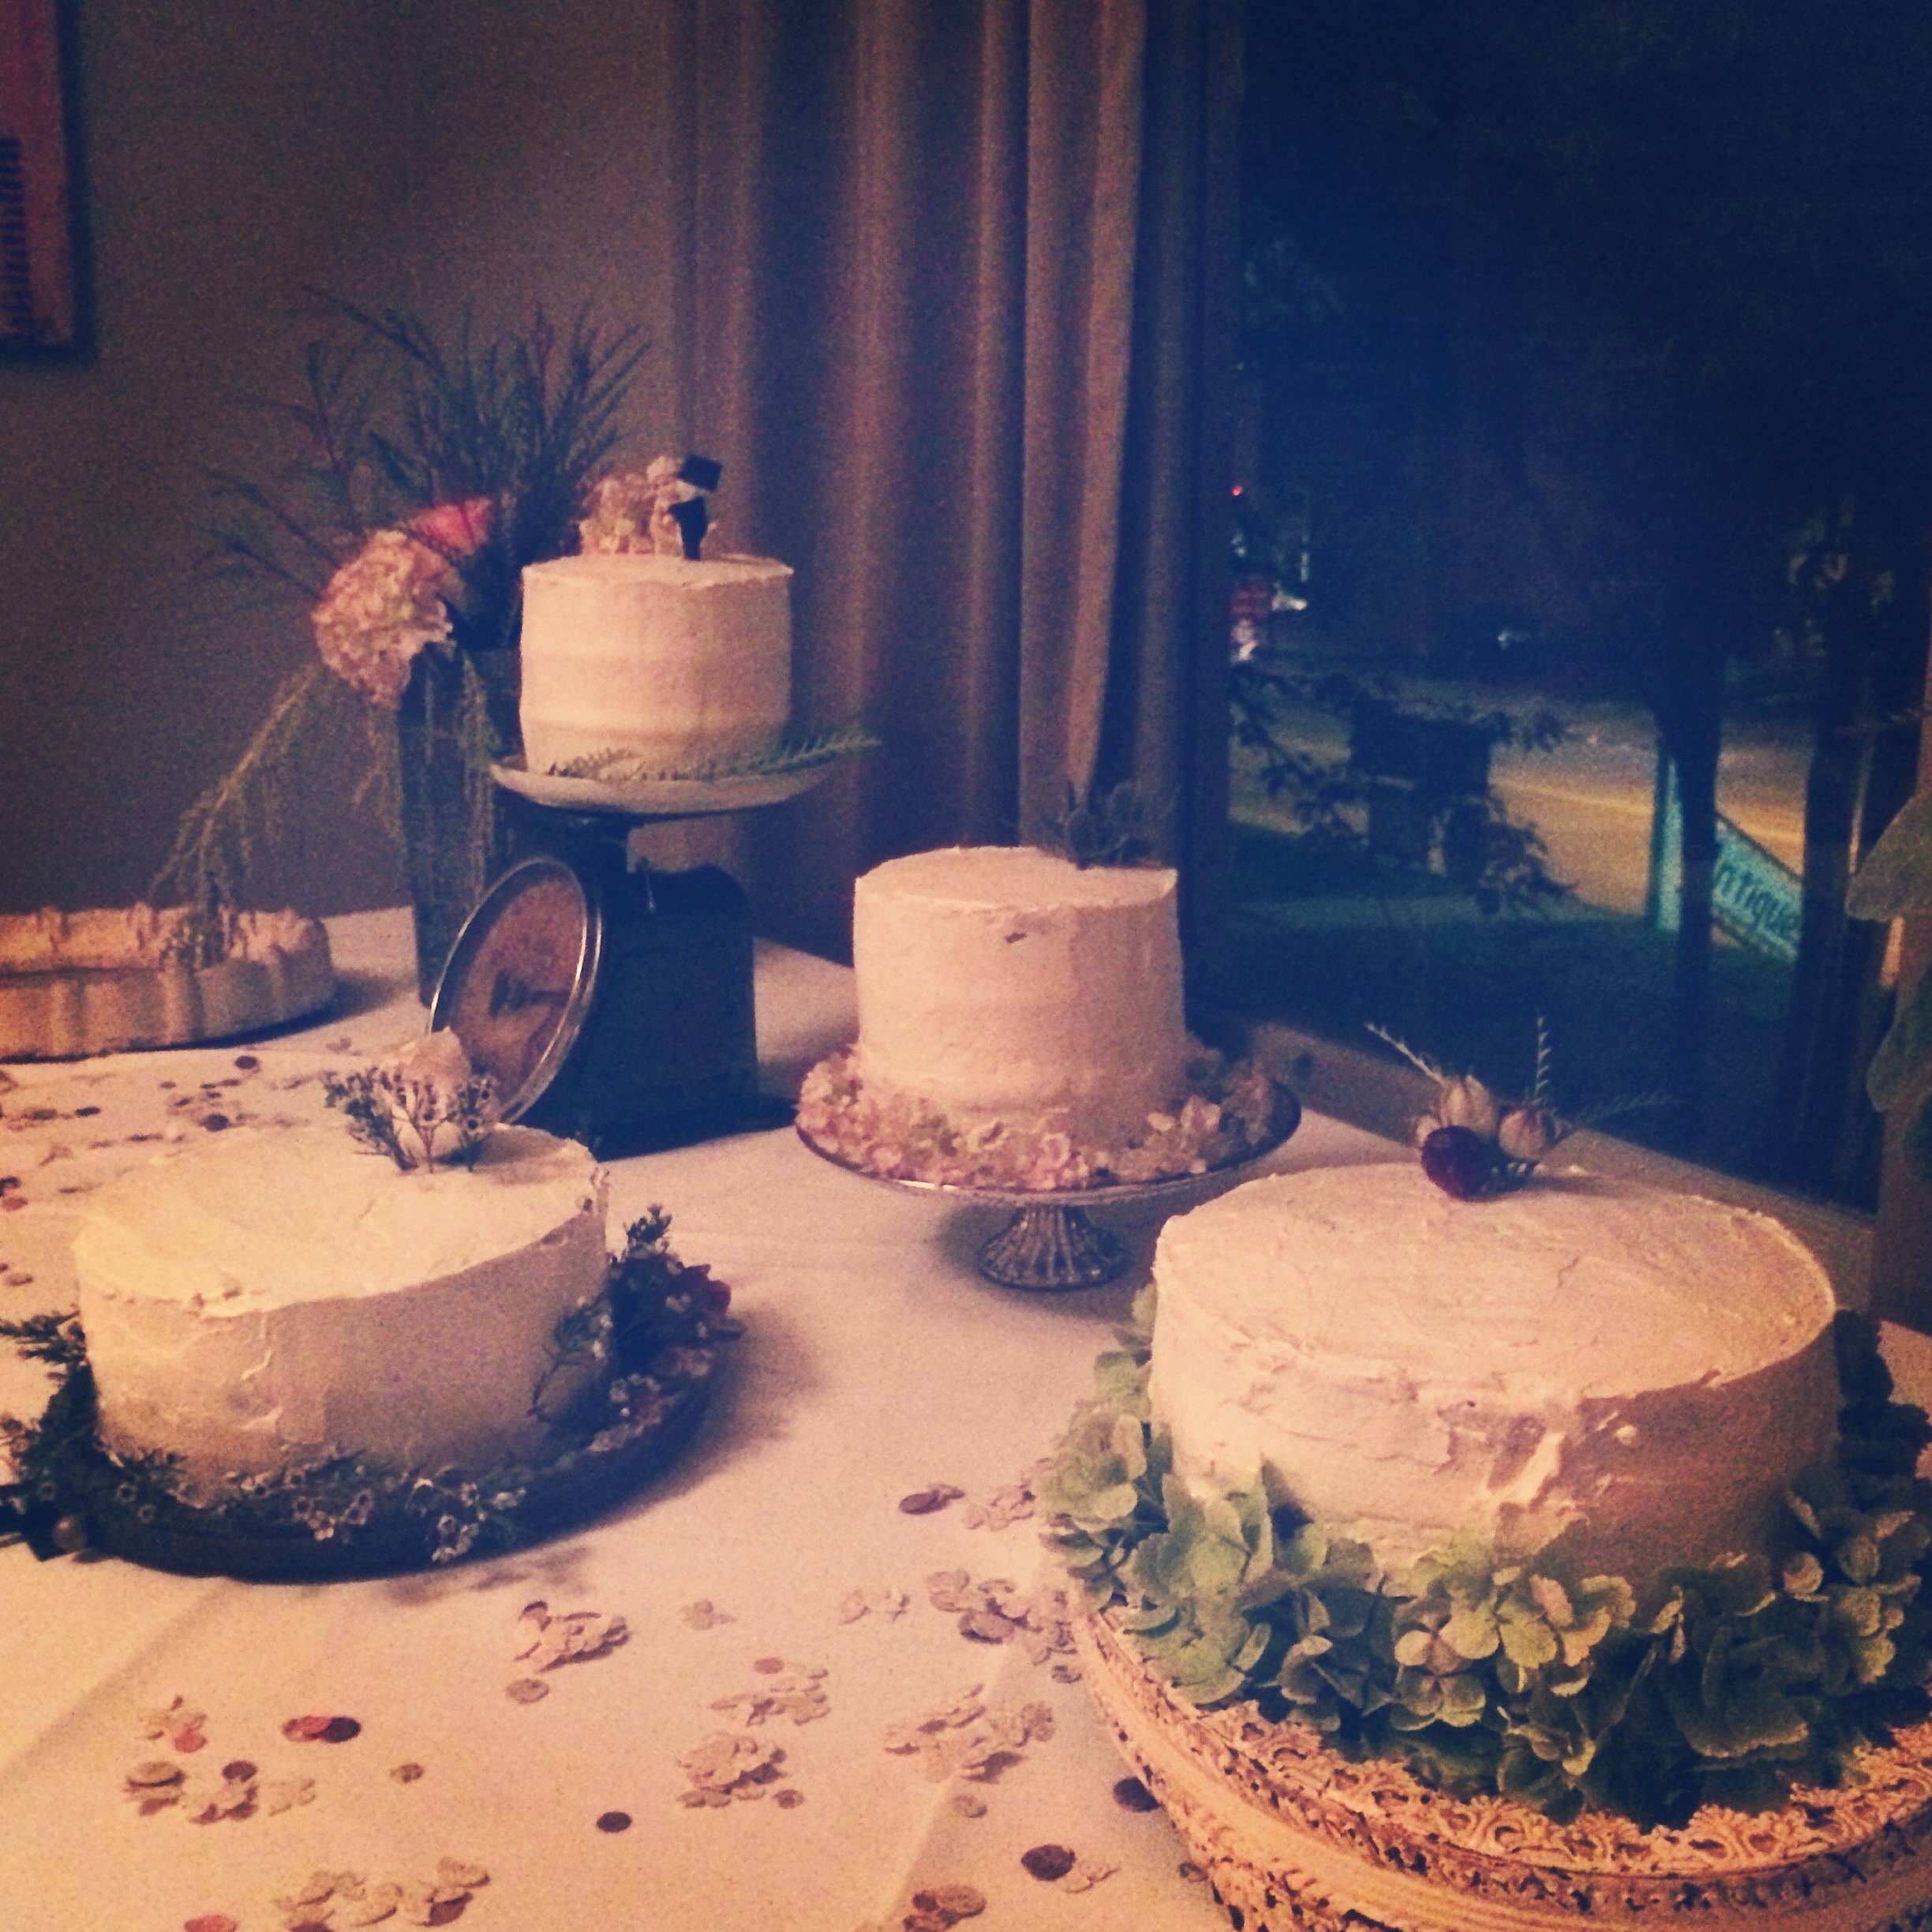
I made a wedding cake!! Again!
My first cake was a couple of years ago right before I moved to New York. I had already moved out of my house in Nashville, so I baked the cakes at my friend Lauren’s apartment. I made three cakes: a chocolate cake with raspberry filing; a lemon infused white cake with strawberries, a white chocolate filing, and a cream cheese icing; and a chocolate chip spice cake with cream cheese icing, recipe courtesy of my friend Erin’s mom. The chocolate cake was pretty good but a lot of work, the white cake was delicious, and the spice cake was amazing.
When my grad school adviser and friend, Paige, asked me if I wanted to make her cakes, I knew immediately that I did. Once I figured out the logistics of making cakes for a wedding in Nashville when I live in NYC, I said yes! This time, I was a little bit smarter about things. One of the cakes I had made for the previous wedding was tiered. That was out. It was stressful and, to be honest, I still have nightmares about how it was slightly leaning. Second of all, I knew I needed to find a new chocolate cake. The previous one required a raspberry and chocolate ganache filling as well as a white icing. I turned to smitten kitchen for that (chocolate cake and swiss buttercream icing)
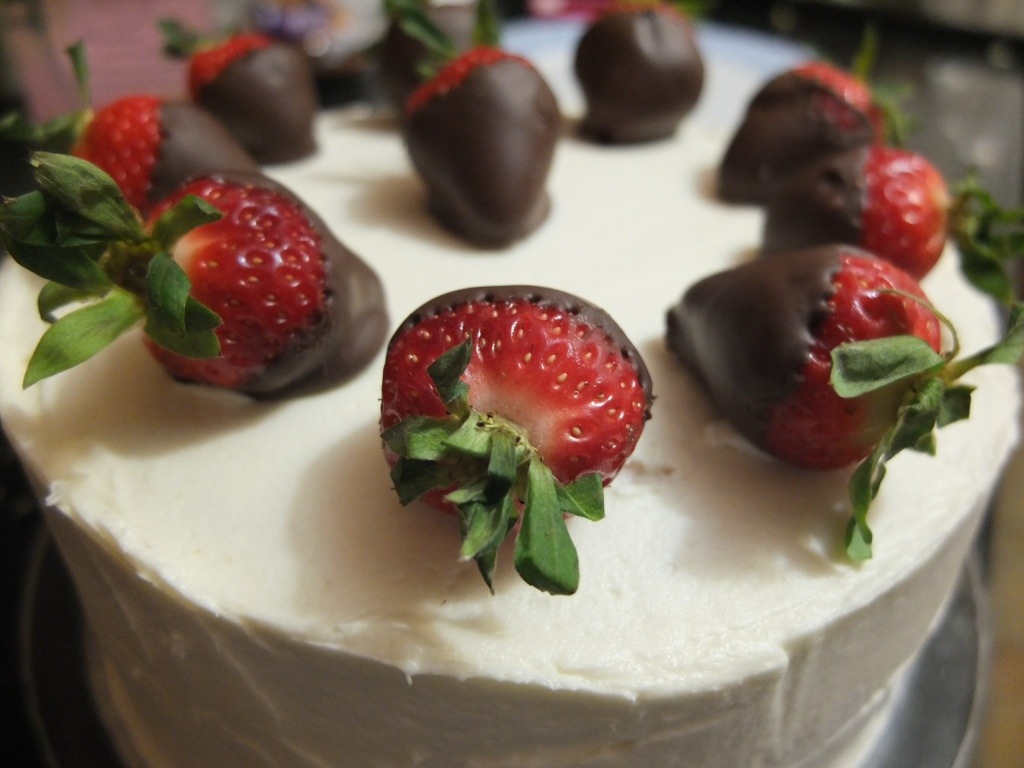
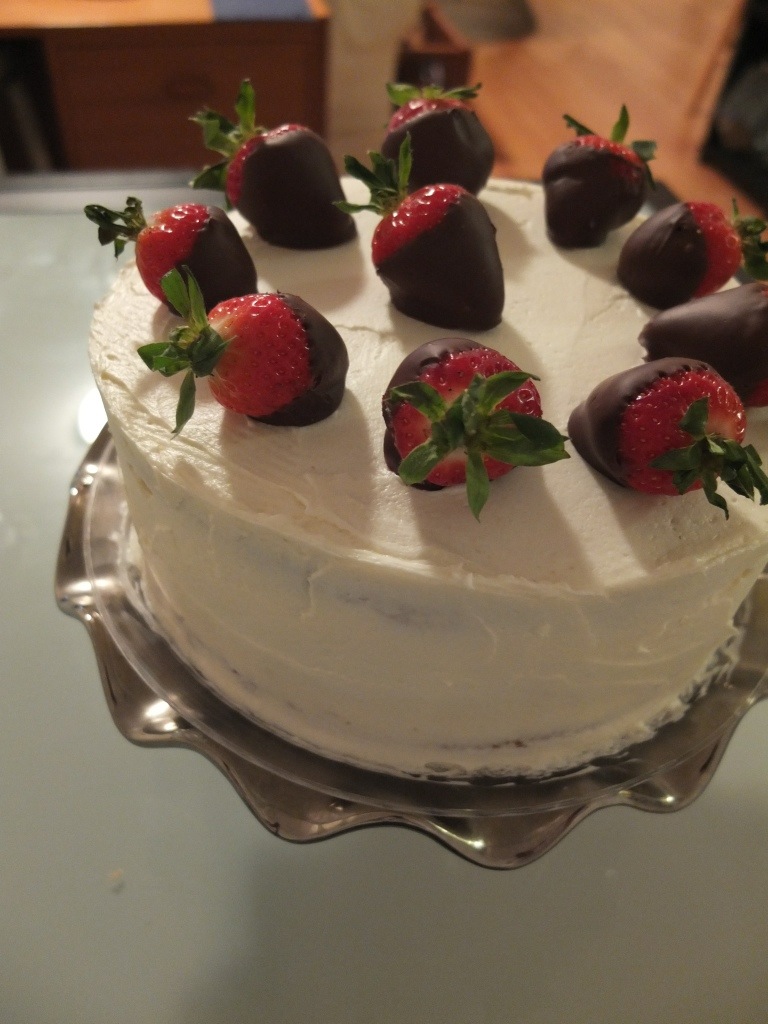
I knew that the sustains were the white cake with strawberries (which I previously blogged about here) and the spice cake. This cake is easy, relatively healthy (applesauce!), and awesome. I don’t know how I had not blogged about it before, but here it is! Enjoy!
Next time I make a wedding cake, maybe it will actually be in my own kitchen! Many thanks to Alison for letting me use her kitchen and putting up with me as I literally walked into her house after not seeing her for months and started baking immediately.
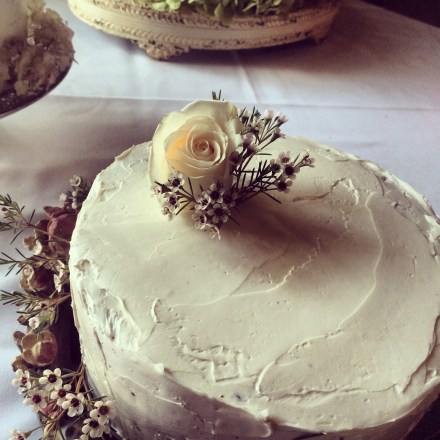
All credit for how beautiful the cakes look go to Paige for picking out awesome cake stands and for her friend Rebecca for doing the flowers. I just delivered white cakes.
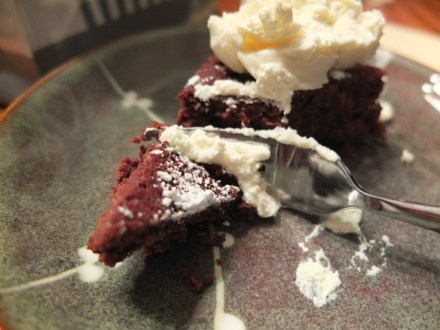
Chocolate Chip Spice Cake
Courtesy of Laura Frankrone
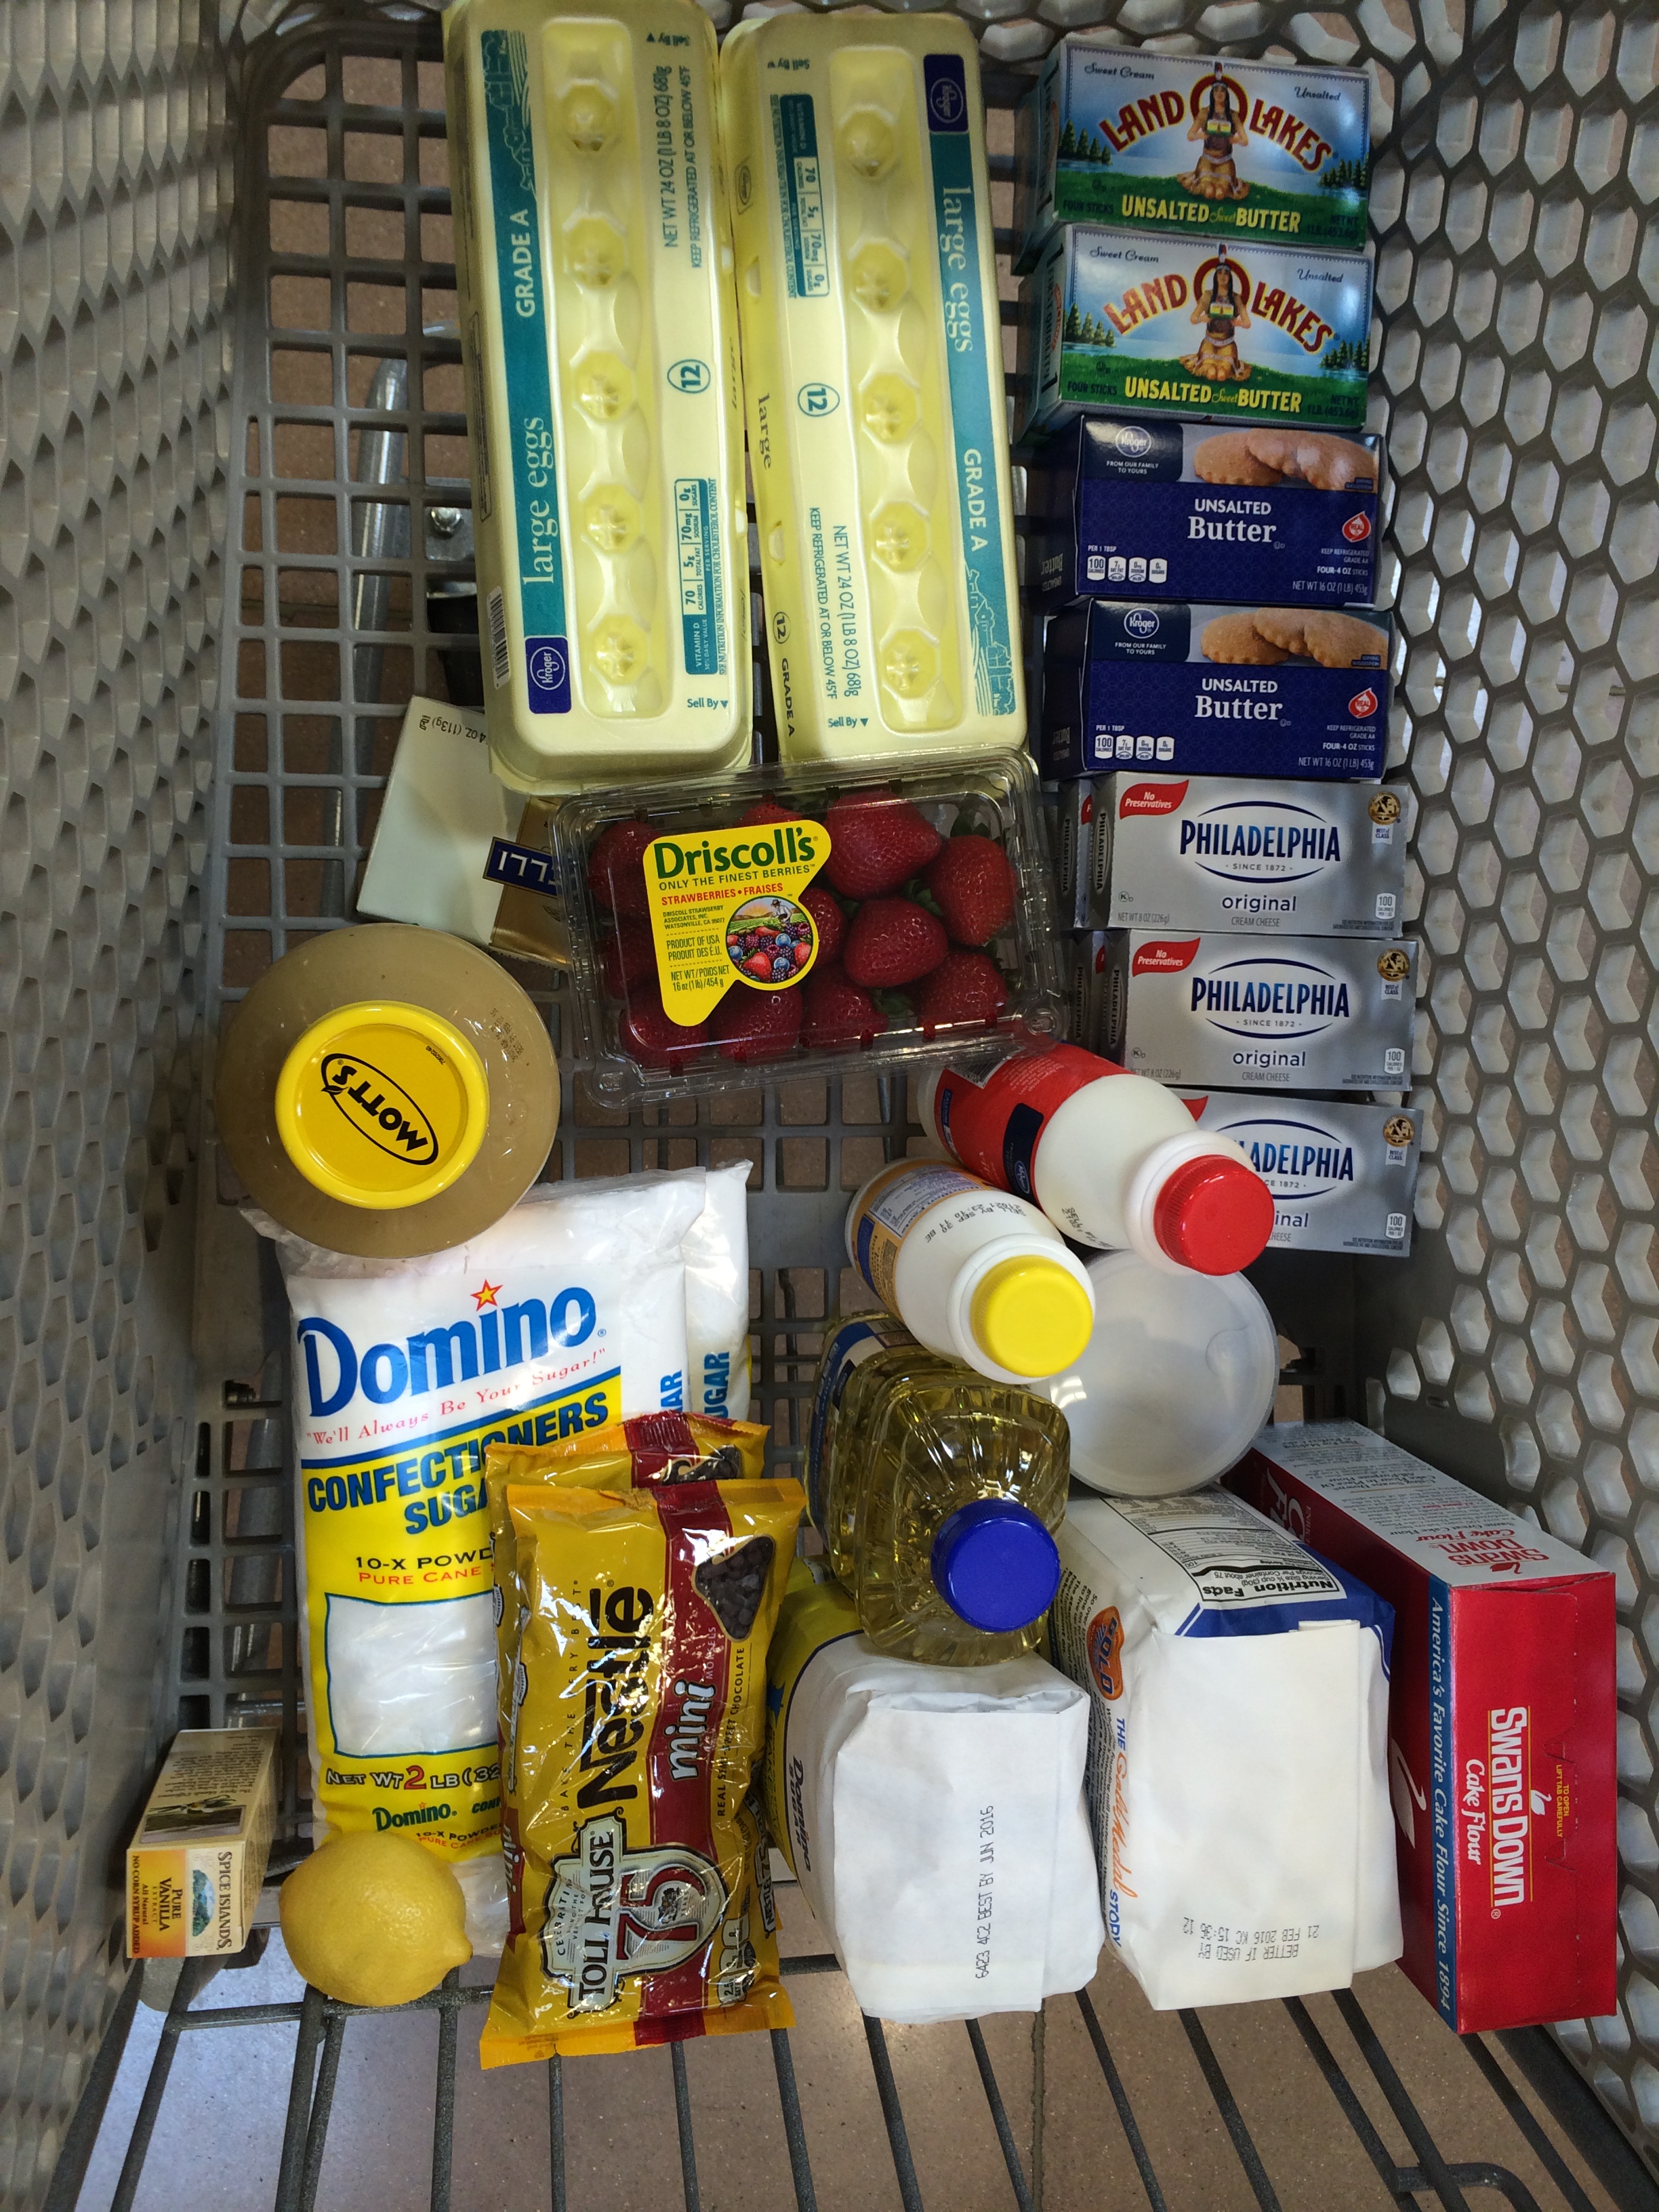
2 1/2 cup flour
1 1/2 cup sugar
2 tsps. baking soda
2 tsps. cinnamon
1 tsp. cardamom (optional, I skipped)
1 tsp. salt
1/2 tsp. cloves (optional, I skipped)
1/2 tsp. black pepper
2 cups applesauce
2 large eggs, lightly beaten
1/2 cup oil
1 stick unsalted butter, melted
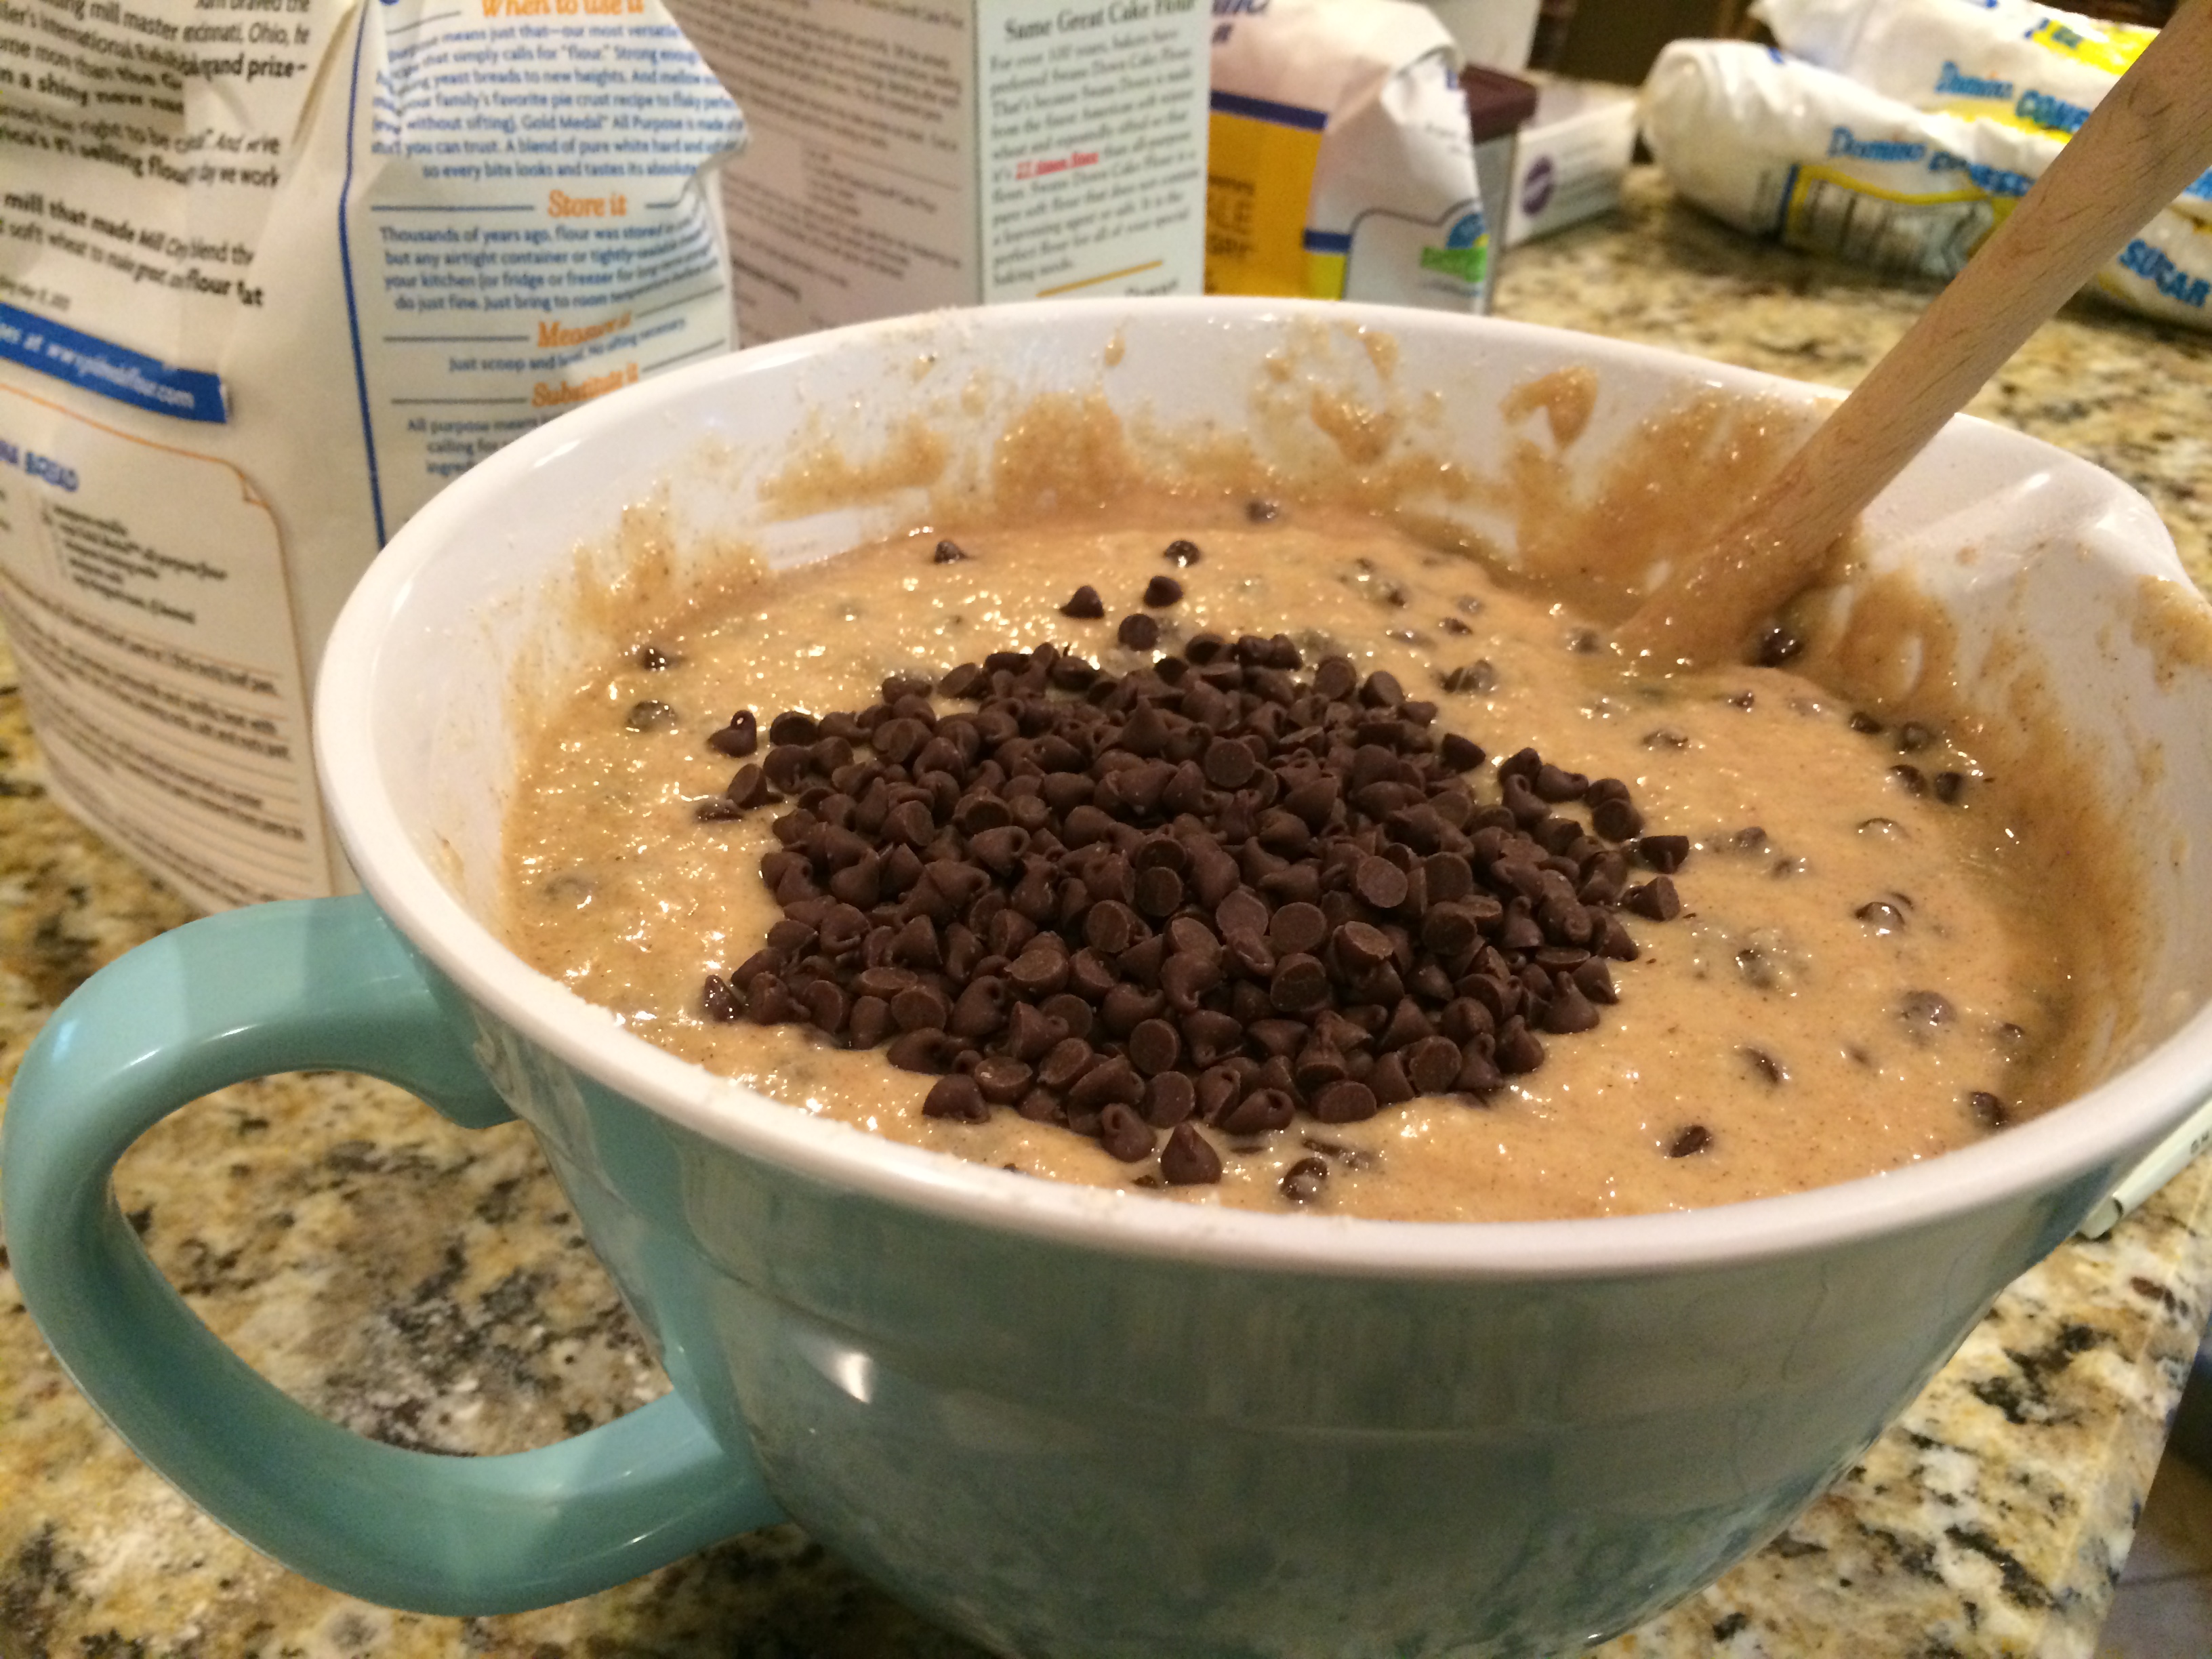
1 bag, semi-sweet chocolate chips (I use the mini-morsels)
1. Preheat oven to 350 degrees
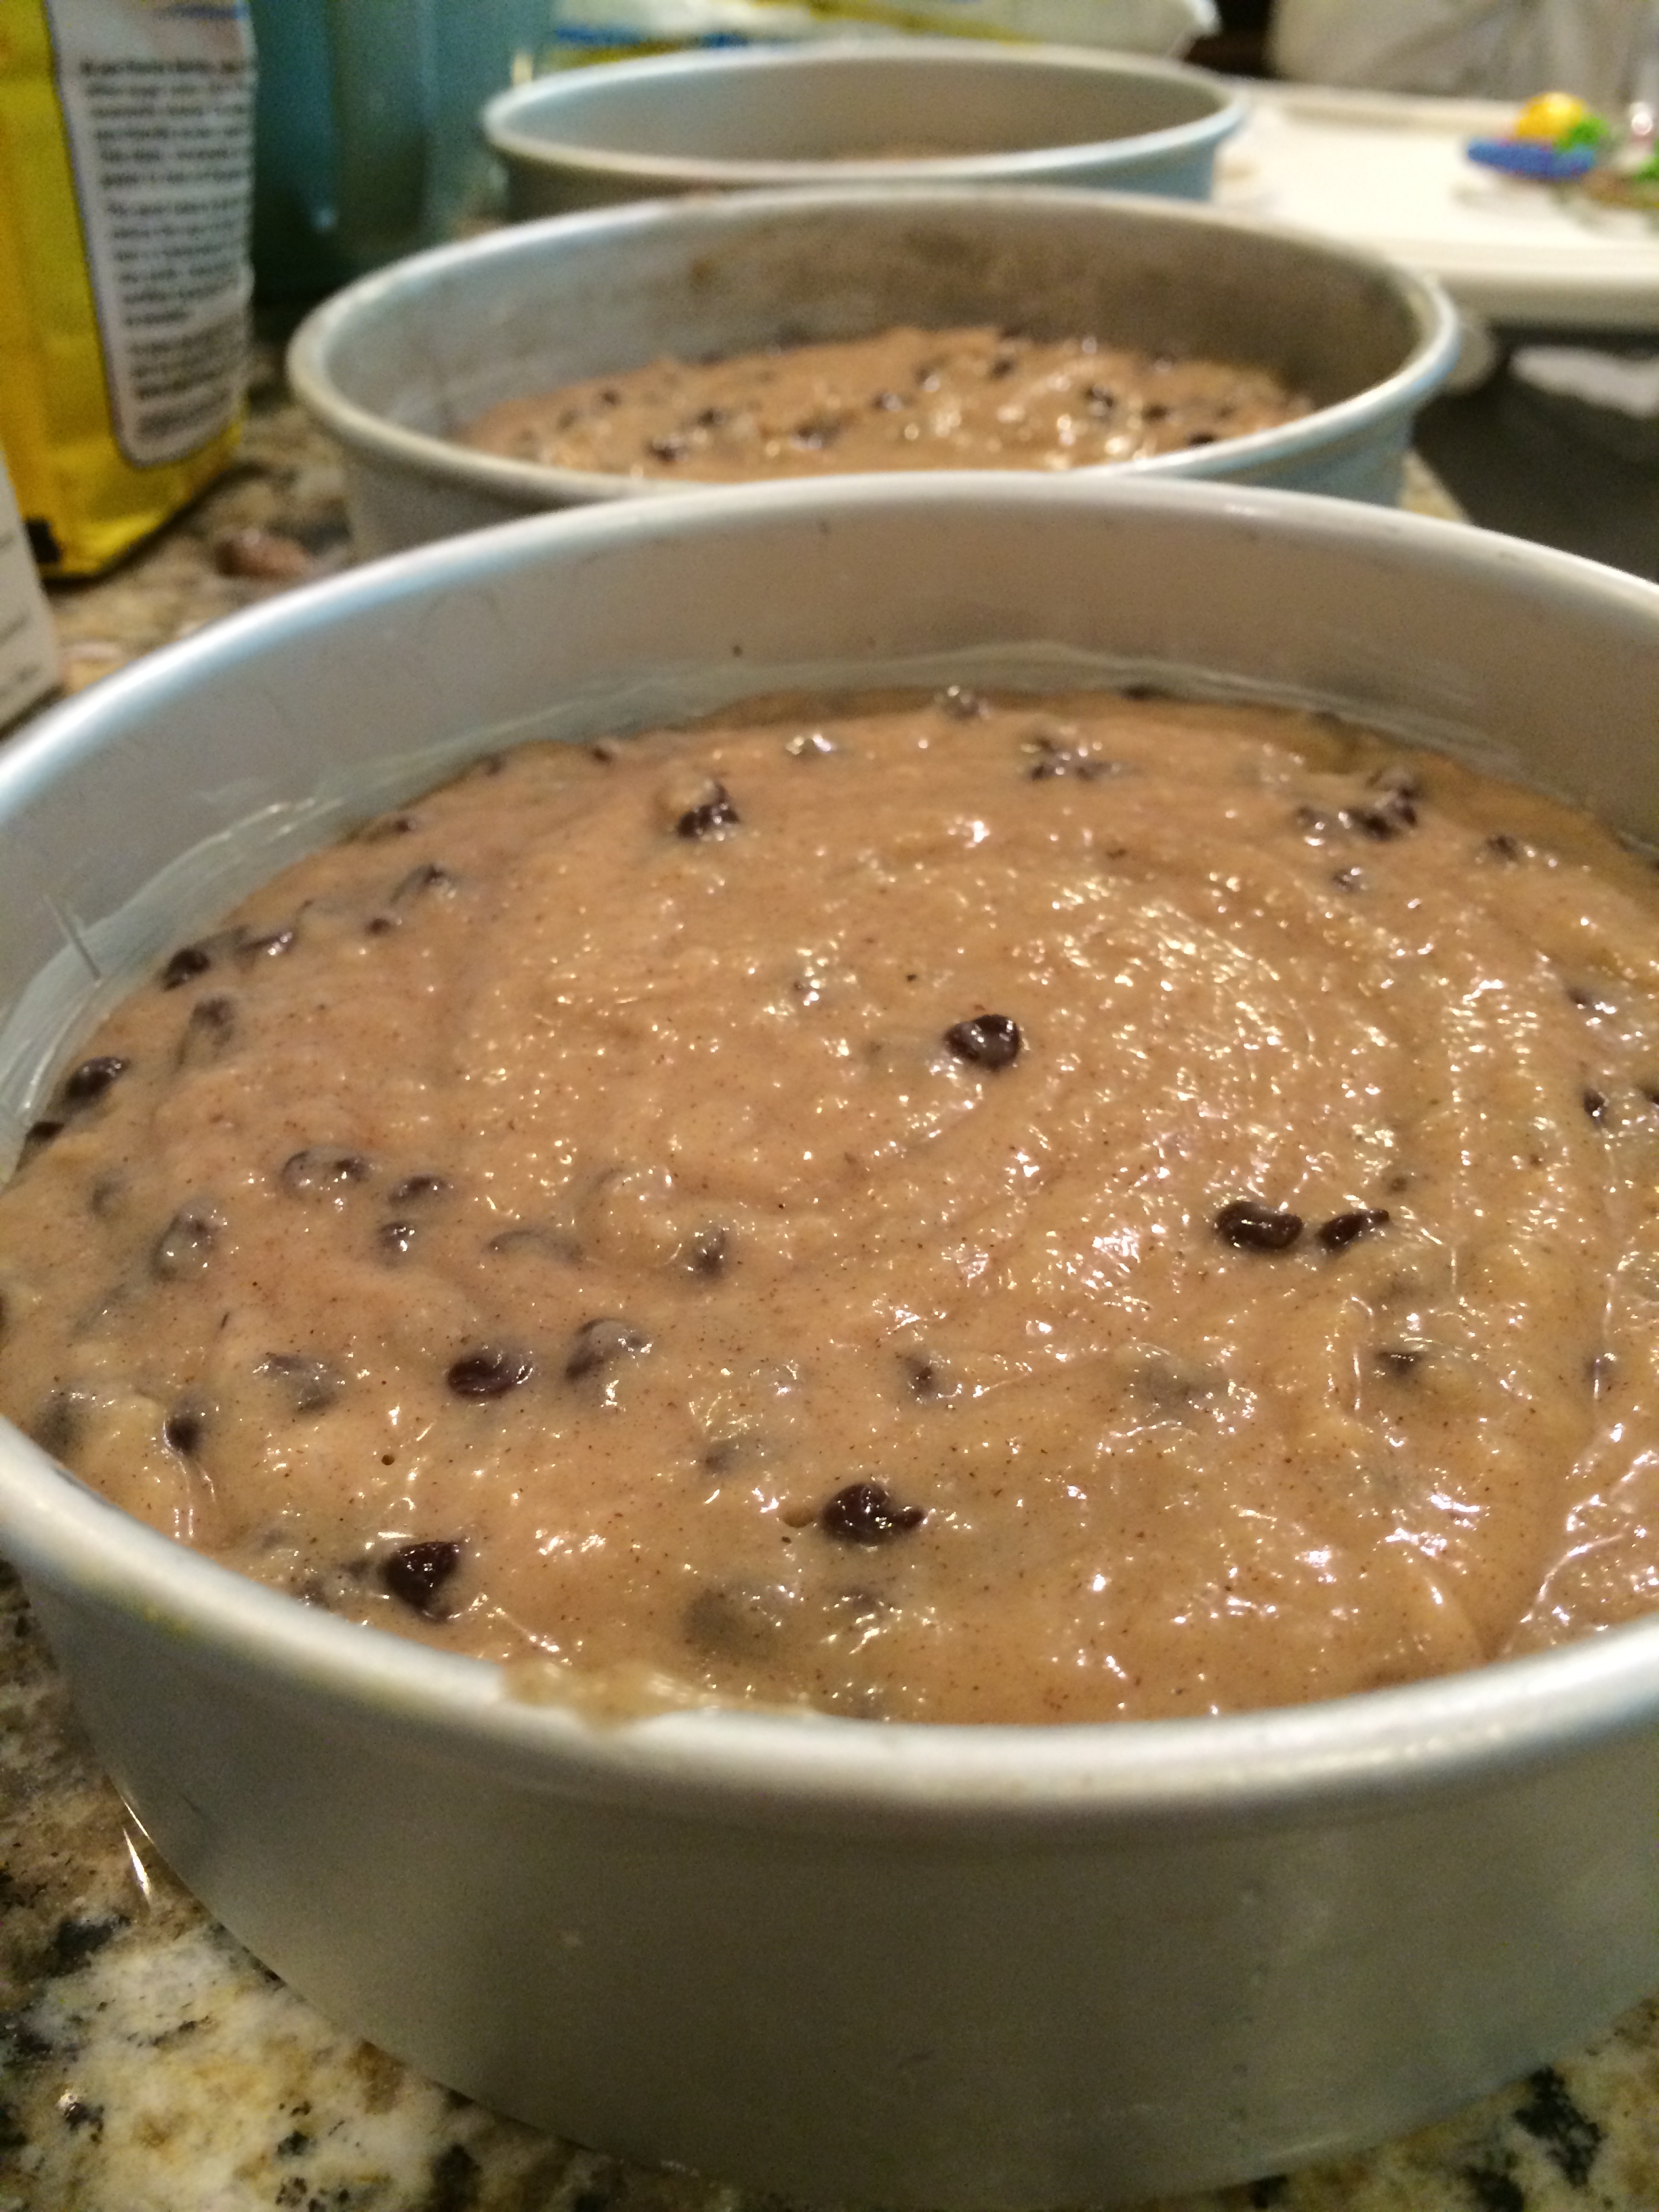
2. Butter and flour a bundt pan or 2 9-inch pans.
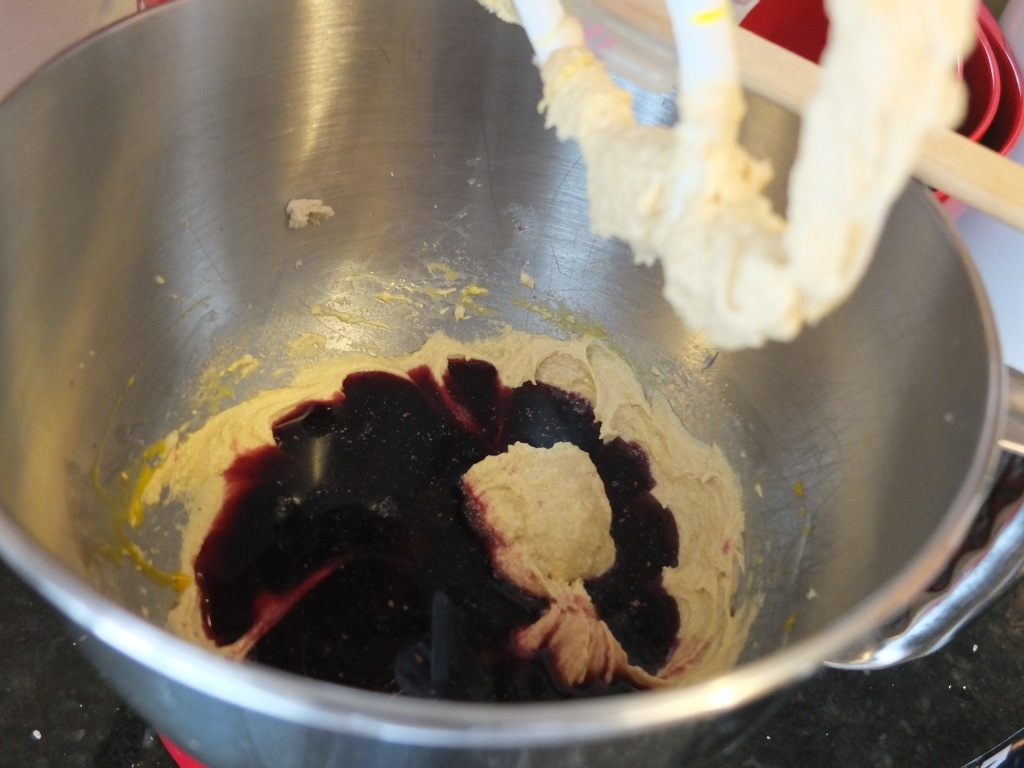
3. Whisk the flour with the sugar, soda, cinnamon, cardamom, salt, cloves, and pepper. Stir in the applesauce, eggs, oil and butter. Fold in the chocolate chips.
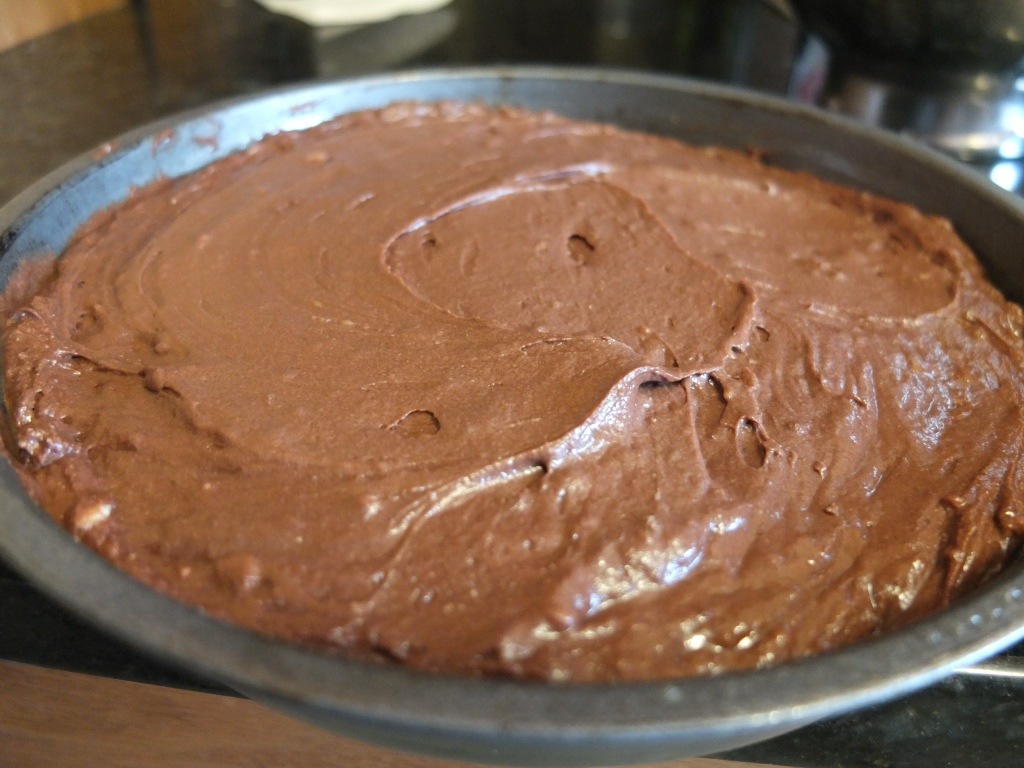
4. Put batter in the pan. Bake for 1 hour and 15 minutes or until toothpick comes out clean for the bundt cake or 30-40 minutes if you use 9-inch cakes.
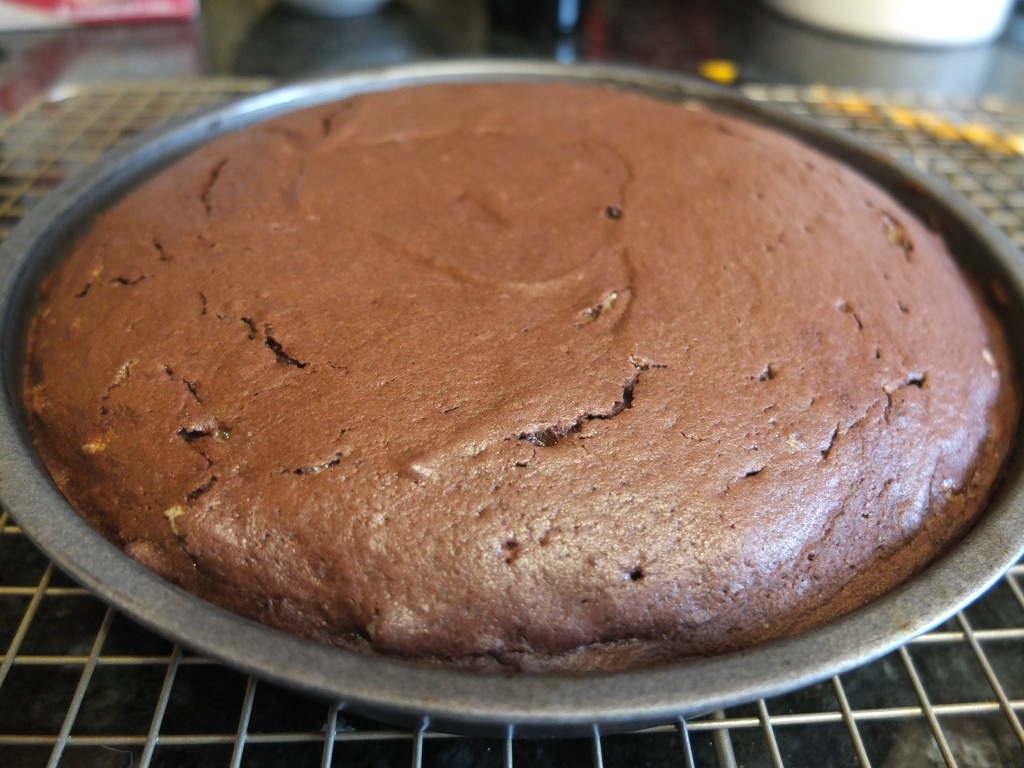
5. Transfer pan to cooling rack for 10 minutes; remove cake. (sometimes it takes a little long than 10 minutes but I start trying to get it out after 10 to prevent the cake from drying out.)
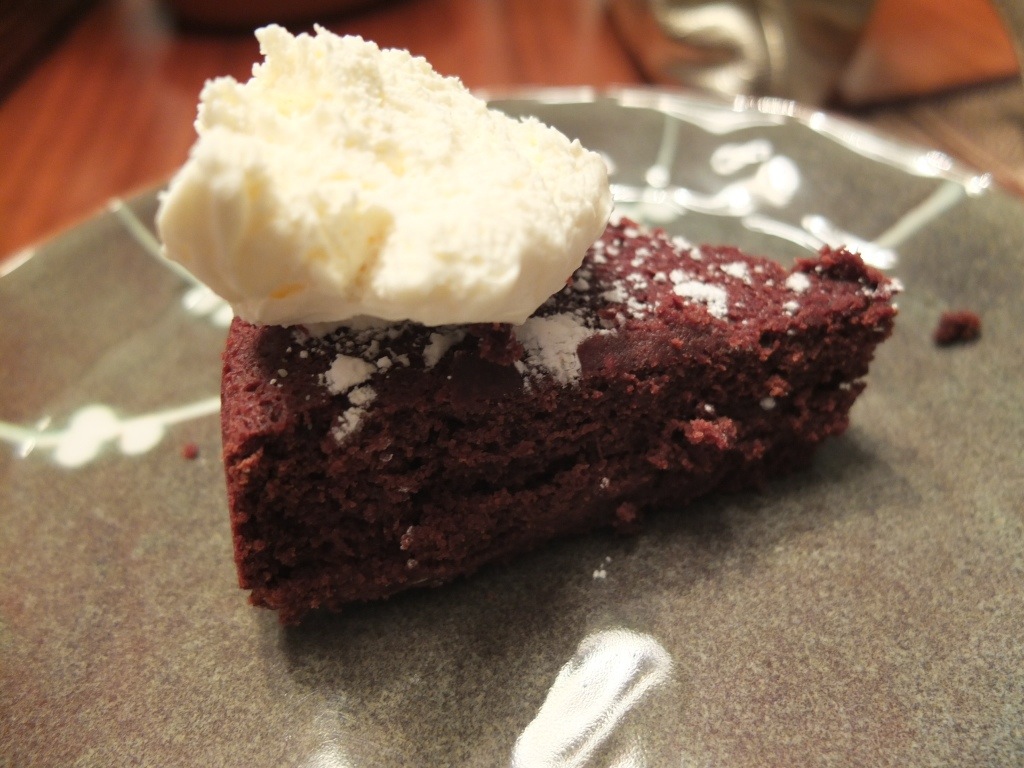
6. Cool cake completely and dust with confectioners sugar.